
Make Art Prints Using Sunshine While Learning About The Importance of Sunscreen: Ages 5+

Ideas or Inquiries
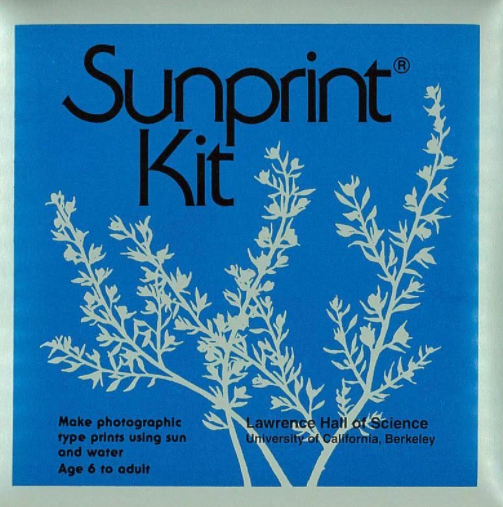
Since 1975, the Sunprint Kit has provided fun, learning and creative stimulation for the curious of all ages. These were originally developed as a teaching tool by educators at the Lawrence Hall of Science on the UC Berkeley campus, and now they’re fun, innovative ways to create beautiful prints.
Vocabulary
Molecule, UV rays
Supplies
- Sunprint paper
- acrylic sheet
- cardboard
- a tub full of water
- fun and interesting objects to print
Directions
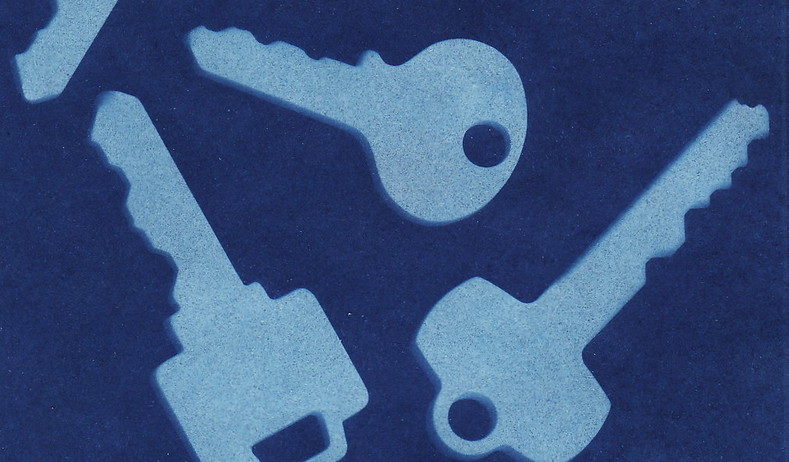
- Arrange your objects on a piece of Sunprint paper out of the reach of the sun.
- Place the acrylic pressing sheet on top to flatten and hold your items to the Sunprint paper
- Take your Sunprint outside and lay it in direct sunlight for 5 minutes (up to 20 minutes, if it’s cloudy/overcast).
- Rinse your Sunprint in water. Watch the white turn into blue and the blue turn into white.
- Lay your Sunprint flat on an absorbent surface and allow it to dry.
What’s happening? What are the take-ways?
The areas of the paper exposed to the sun will fade from blue to white. When you see most of the color disappear from the paper, your print has been fully exposed. If no direct sunlight is available, don’t worry–just expose your print a little longer and wait for the same fading effect. Under cloud cover, the process will take 5-20 minutes depending on the thickness of the clouds.
What is happening in this step? Two crucial molecules in the paper are interacting, forming a new molecule. Their interaction is initiated by specific wavelengths of ultra-violet light. The new molecule is colorless so that as the blue molecules are converted, the white of the paper base begins to show through. Areas of the paper covered by your objects still contain the original blue molecule, so they remain blue.