
Using some basic craft supplies, and a little creativity and ingenuity, you can make your own instruments.
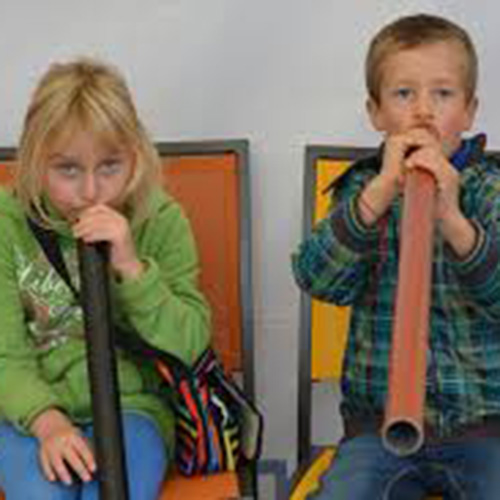
DIY DIGERIDOOS
Materials:
Large mailing tubes
Crayons/marker/paint
Directions:
- Decorate the tube to heart’s desire
- Blow/hum/whistle through the tube to
make different sounds
DIY CHICKEN-IN-A-CUP
Materials:
Plastic cup
String
Paper Clip
Wet paper towel
Directions:
- Poke a hole in the top of the cupThread string through, letting a long
length hang down. - Tie the paper clip to the string at the top of the cup
- Rub the damp paper towel in short bursts down the string to make the noise
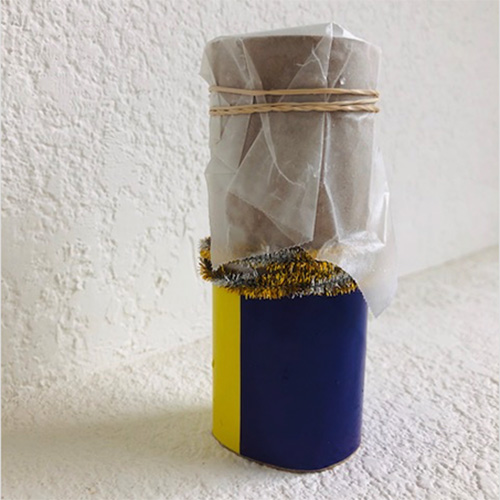
DIY KAZOOS
Materials:
Paper towel or TP rolls
Wax Paper
Rubber Bands
Crayons/markers
Directions:
- Color/decorate the tube
- Cover one end of the tube in wax paper
- Secure the wax paper with the rubber band
- Have an adult poke a few holes in the side of the tube
- Hum through the open side of the tube to make the wax paper vibrate
DIY SINGING STRAWS
Materials:
Straws
Tape
Scissors
Strong
Directions:
- Line up the straws (six or seven work great)
- Tape them together at the top
- Use scissors to cut them into different lengths
- Poke holes on the straws on the end
- and tie the string through to make a holder
DIY CEREAL BOX GUITAR
Materials:
Cereal boxes
Large rubber bands
Scissors
Glue sticks
Directions:
- Cut a circle towards the bottom of the
cereal box - Cut the circle in half
- Glue one half of the circle to the bottom of the hole (see picture)
- Stretch rubber bands around the box, lengthwise
- Pluck and strum away on your guitar!
DIY PAPER PLATE TAMBOURINES/SHAKERS
Materials:
Paper plates
Crayons/markers
Stapler
Beans/small beads
Optional:
o Hole punch
o Ribbon
o Small bells
Directions:
- Decorate the plate with markers/crayons
- Fold plate in half
- Insert a few beans/small beads
- Staple the edges to seal
- OPTIONAL:
a. Punch a few holes around the
edge outside of the staples
b. Tie a bell at each hole with the
ribbon pieces