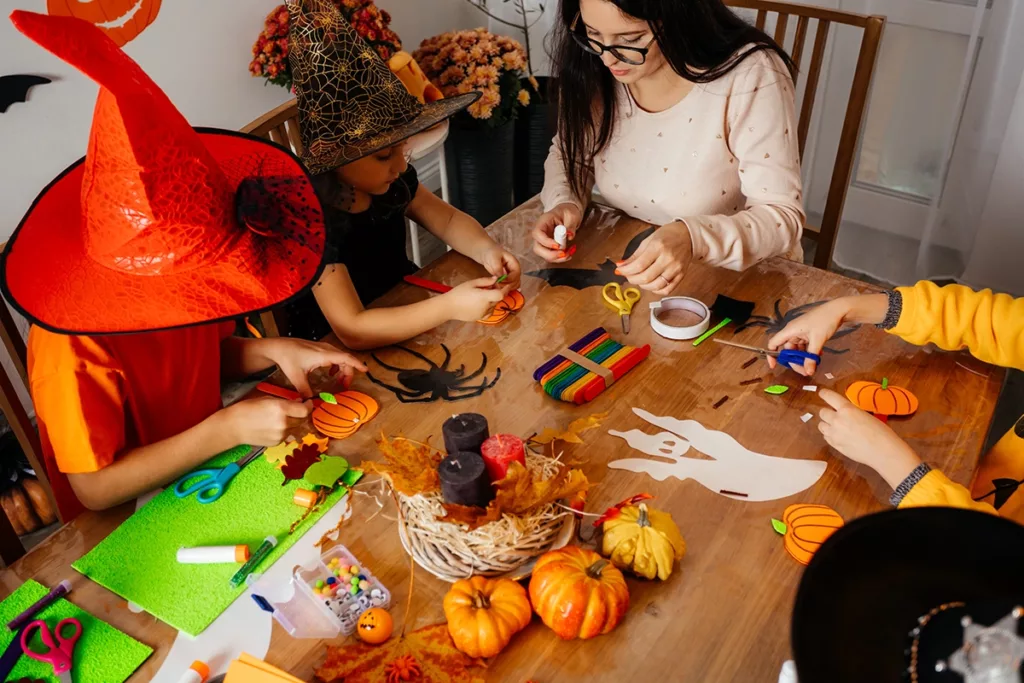
Halloween is an exciting holiday that ignites the imagination of children and adults alike, offering endless opportunities for creativity and fun. This spooky season, we’ve compiled a list of fun Halloween-themed arts and crafts activities for kids! These spooktacular projects are sure to add a touch of magic to your Halloween festivities and provide valuable learning opportunities for young minds.
Always supervise young children during any arts and crafts activity, especially when using scissors, or other potentially dangerous materials, and handling small objects.
FUNtazmagoria: A Kid Friendly Halloween Event at The Children’s Museum
Friday, October 27 – Sunday, October 29, 2023
2:00 pm – 7:00 pm
Join us for our annual spooky, not scary, Halloween-themed event at the Children’s Museum of Sonoma County!
Halloween Arts and Crafts Activities for Kids That You Can Do at Home
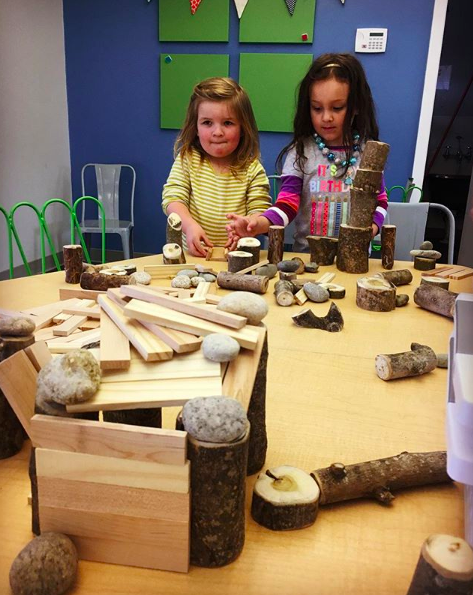
Halloween arts and crafts activities empower children to use their imaginations, improve fine motor skills, and allows them to freely express themselves in ways that add a touch of magic to the season! From the youngest learners to the more experienced little crafters, these projects are designed to be easy to follow and can be tailored to accommodate children of all ages, abilities, and learning stages. Plus, many of the materials you’ll need are likely already lurking in your home, and the rest are easy to find and budget-friendly!
Spooky Paper Plate Masks
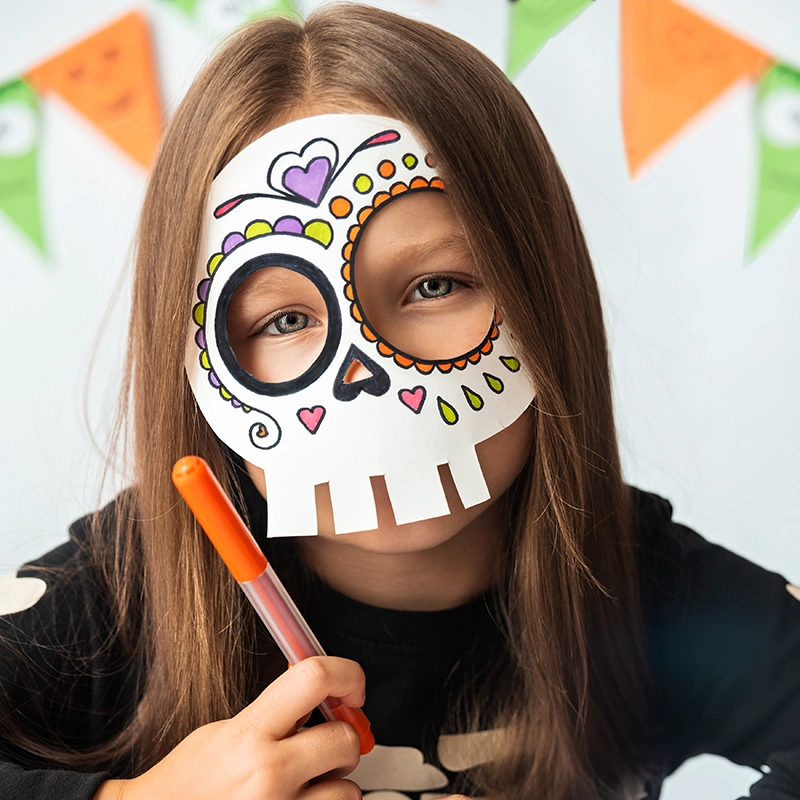
Making Halloween-themed masks with paper plates is a fun and creative activity for kids of all ages that encourages role-play and self-expression. This art project is also a great way for kids to practice using tools like scissors, glue sticks, and more. With this spooky art project, children can use their imagination to transform a basic paper plate into a funny Frankenstein, a whimsical witch, a superhero, or their favorite animal!
What You’ll Need:
How to Make Paper Plate Masks
- Design the Mask: Encourage your kiddos to think about what kind of Halloween character they want to create.
- It could be a superhero, pumpkin, witch, animal, monster, or anything they like.
- Draw the design on the paper plate using crayons, markers, or colored pencils.
- Cut Out the Mask Shape: Once the design is complete, carefully cut out eye holes and anything else the mask needs to truly take shape.
- Decorate the Mask: Now kids can use various craft supplies to decorate their masks. They can glue on construction paper shapes, feathers, googly eyes, or anything else they like.
- Add a Handle (Optional): If you want to make it easier for kids to hold their masks up to their faces, you can attach a popsicle stick handle.
- Attach a String (Optional): If they want to wear the mask on their face, cut small holes on each side of the mask and thread string or elastic cord through them, and tie a knot to secure it in place.
Pumpkin Painting Extravaganza
(Pumpkin Carving Alternative for Kids)
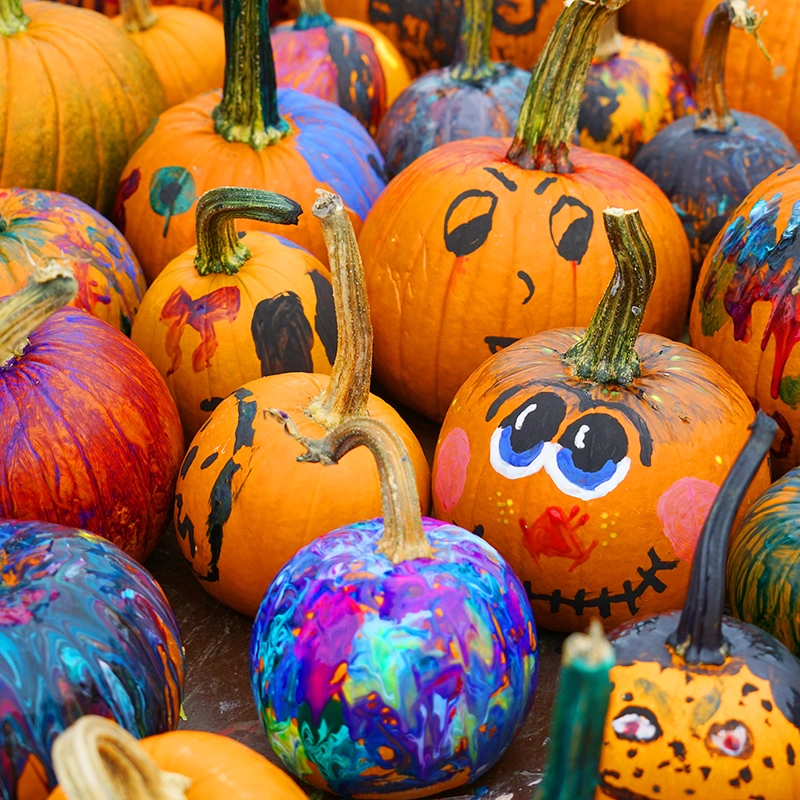
If pumpkin carving is a bit challenging for the younger children in your life, a pumpkin painting project is an equally fun and creative alternative! Not only is this art activity a great way for the whole family to participate in this beloved Halloween tradition, but it also allows little learners to practice using tools and develop their fine motor skills.
Bonus: Painted pumpkins tend to last longer than a traditional carved pumpkin!
What You’ll Need:
Pumpkin Painting Art Project
- Wash and Dry the Pumpkins: Washing and drying your pumpkins to remove dirt and debris will help the paint adhere better.
- Paint the Base Coat: Applying a base coat of paint to the pumpkin will help make their design pop.
- This can be a single color or a combination of colors.
- Let it dry completely before adding details.
- Add Details: Once the base coat is dry, use smaller brushes to add details to the design. Kids can paint a pumpkin face, colorful patterns, or anything else they like.
- Add Decorations (Optional): If you have other craft supplies on hand, kids can add some extra flare to their painted pumpkin by adding things like glitter, stickers, googly eyes, or other decorations.
- Display and Enjoy: Once the pumpkin is complete it’s ready to be displayed indoors or outdoors!
Tie Dye Spider Web Glue Art
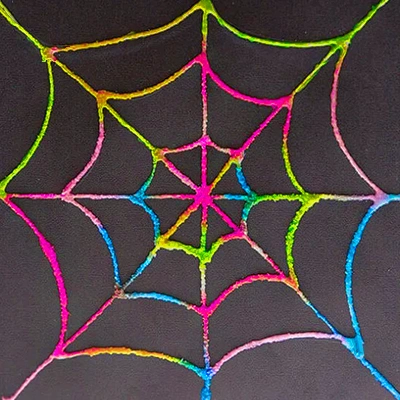
This Halloween art project allows kids to create vibrant and intricate spider web designs with a fun tie-dye twist. It’s not only a creative exploration of colors and patterns but also an excellent way to improve fine motor skills.
What You’ll Need:
How to Make Tie Dye Spider Web Glue Art
- Design the Spider Web: Have the kids start by drawing a spider web design on black construction paper. They can create a simple or intricate pattern, depending on their preference and skill level.
- Trace with Glue: Using the school glue, have them carefully trace over the entire spider web design they’ve drawn.
- Sprinkle Table Salt: While the glue is still wet, immediately pour table salt over the entire glue design. The salt will adhere to the glue and create a textured, raised effect that mimics the look of spider silk.
- Allow to Dry: Set the salt-covered spider web aside to dry completely.
- This may take a few hours or even overnight, depending on the thickness of the glue.
- Once dry, shake off any excess salt.
- Paint the Web: Once the glue and salt are completely dry, it’s time to add some spooky and vibrant colors!
- To create the tie-dye effect, you’ll want to activate your watercolor paints with a good amount of water.
- Use a paintbrush to drip different paint colors on the salt and watch the colors blend!
Cotton Ball Ghost Expressions
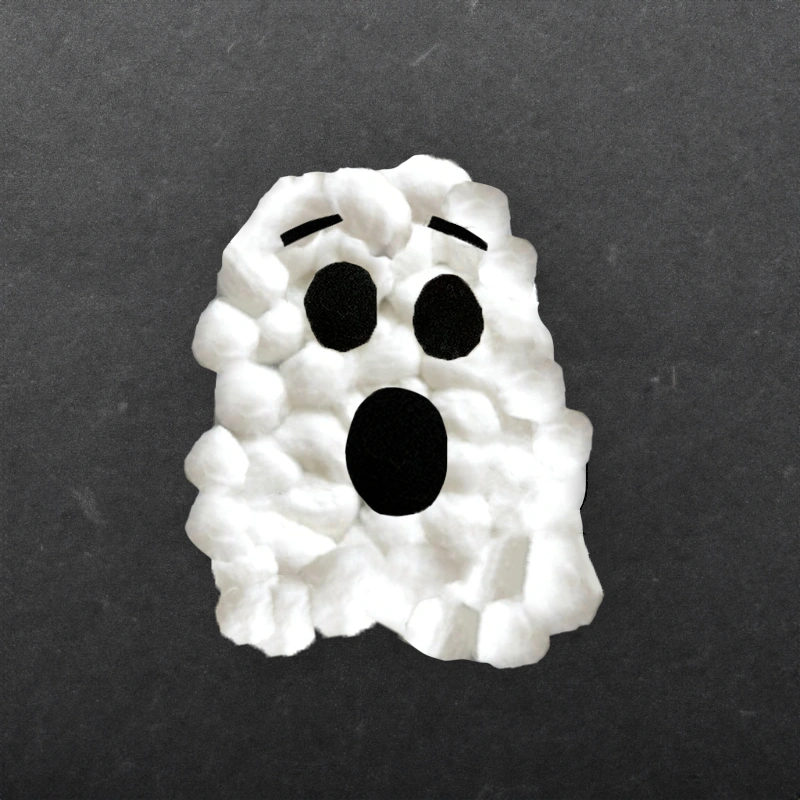
These Cotton Ball Ghosts are a fantastic art activity for kids that also helps to demonstrate how our facial expressions can show what we’re feeling. Plus, you probably have all the materials you need at home already, or you can find them all at the dollar store!
What You’ll Need:
How to Make Cotton Ball Ghosts
- Cut Out Ghost Shapes: Trace your ghost shapes onto your paper plates or cardstock and cut them out.
- Create Silly Facial Features: Now, it’s time to give your ghosts some personality!
- Use a white colored pencil or crayon to draw a variety of different eyes, eyebrows, and mouth shapes, on the black paper.
- Encourage them to think about how we express different emotions with our faces. It can be helpful to demonstrate exaggerated expressions or to have them look in a mirror and do it too.
- Once you’ve drawn all your facial features, cut them out and set them aside for now.
- Add Cotton Balls: Apply a thin layer of glue to the entire surface of your ghost. Then take your cotton balls and press them onto the glue-covered ghost shape.
- Mix and Match Facial Features: Kids can arrange and glue down the features however they like to give their ghost a unique expression like:
- Happy Ghosts have big smiles on their faces
- Sad Ghosts have frowns and maybe even a teardrop
- Surprised Ghosts have raised eyebrows and big eyes
- Laughing Ghosts have a big open mouth
- Angry Ghosts have slanted eyebrows
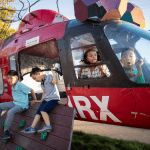
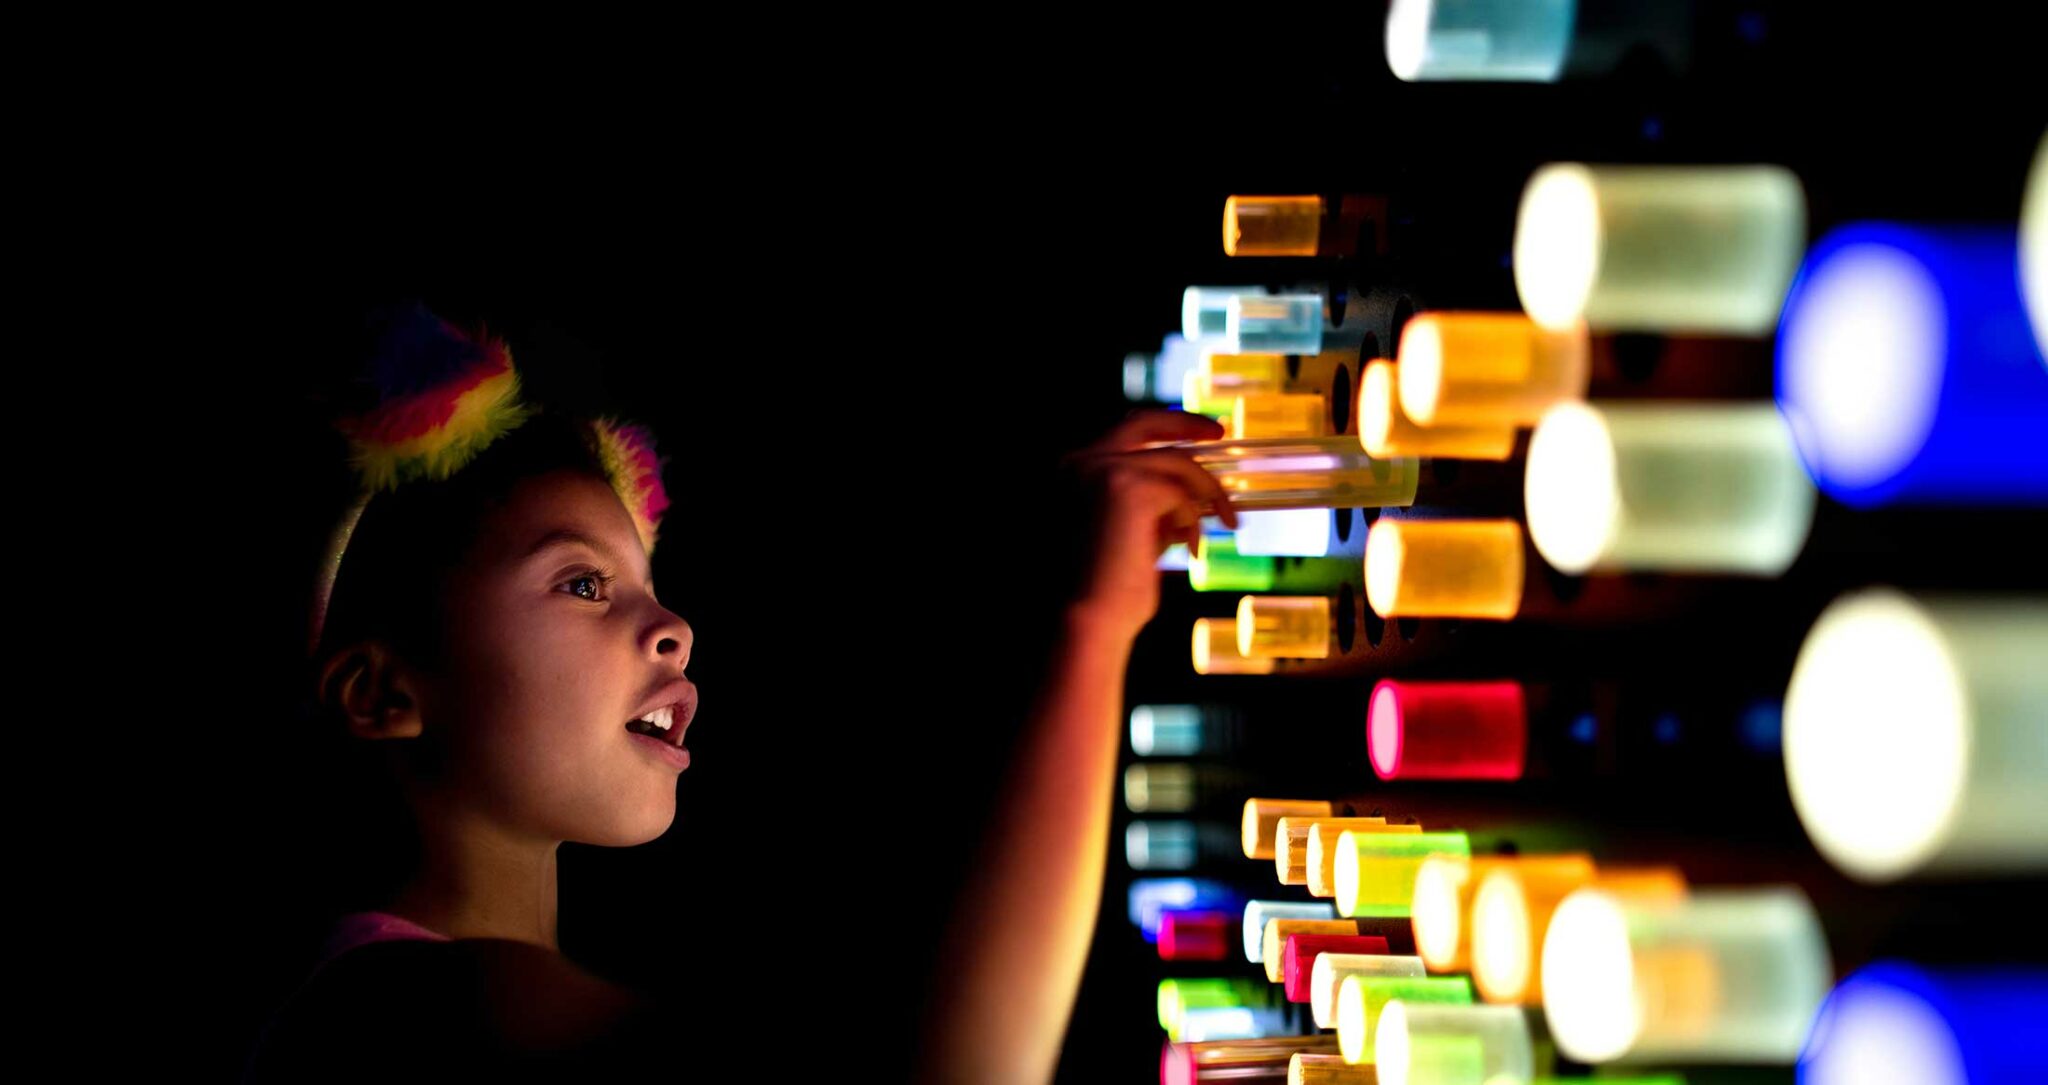
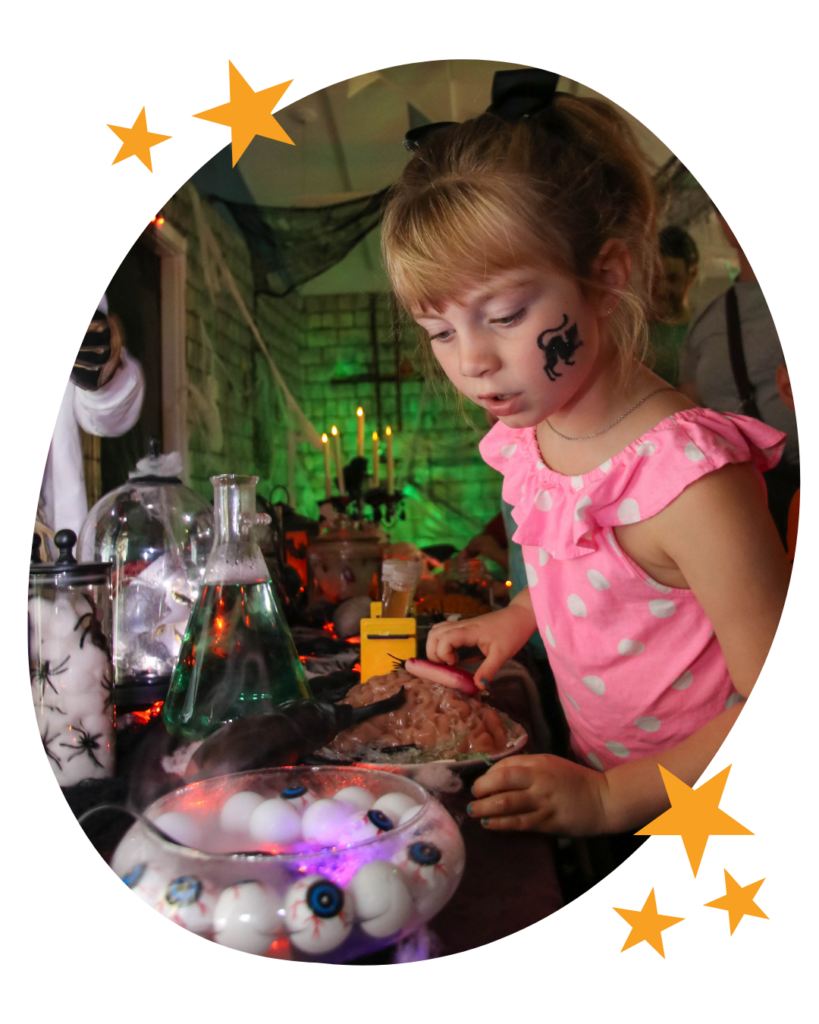
Join Us for Our Annual Kid Friendly Halloween Event: FUNtazmagoria!
FUNtazmagoria is a spooky, not scary, Halloween-themed event that takes place every October at the Children’s Museum of Sonoma County. Every year, families with children of all ages dress up in costumes and celebrate the season with special hands-on activities and live entertainment set up throughout the museum! From our interactive Ghastly Corn Graveyard, Mad Scientist Lab, Glow-In-The-Dark Workshop, and an explosive Pumpkin Plop show, there is something for everyone to enjoy!