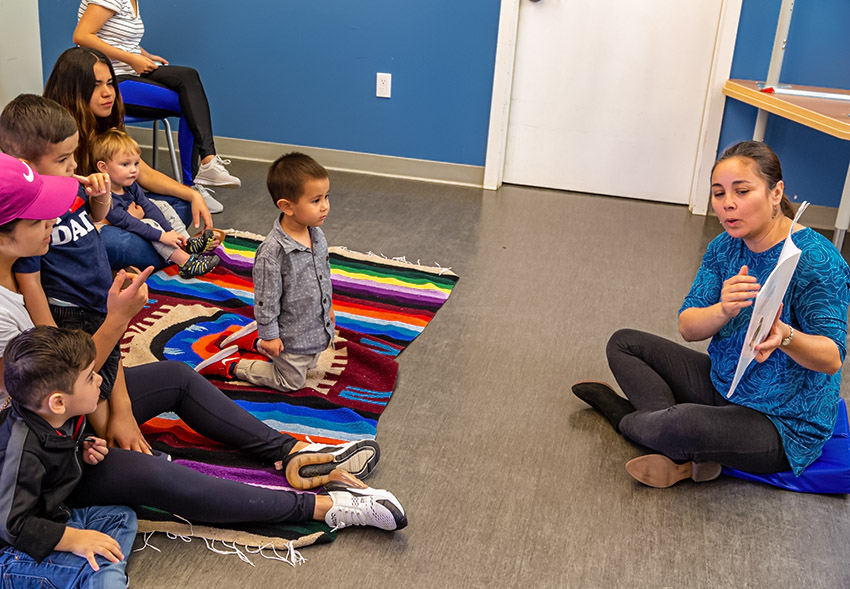
Ages 5+
Ideas or Inquiries
Kites are a fun way for kids to learn about physics, wind flow, and to use their creativity.

Vocabulary
Lift, aerodynamics, measure, cut, glue, tie
Supplies
- 8.5” x 11” white paper
- Paper straws (2 per kite)
- String or twine for the kite string (at least 25-30″ long)
- Light-weight string, twine or decorative ribbon for the tail of kite (at least 20″ long)
- Decorative ribbon scraps
- Glue Sticks
- All purpose glue
- Markers, crayons, colored pencils (for decorating)
- Scissors
- Pencil
- Ruler
Directions
- Fold a piece of white paper in half, lengthwise (“hot dog” style). The size is now 5.5 x 8.5″.
- Using a very strong glue stick, cover the back of one sheet with glue and place the other color on top. Smooth the page down, and make sure there are no bubbles.
- Using a ruler, measure and mark a spot at the top and bottom of your paper at 2.75″. Measure and mark the long edges at 3″. Use a ruler to connect the four marks and draw lines to make the kite shape.
- Cut out the kite.
- Use the markers/crayons/colored pencils to decorate the kite.
- Cut a length of twine or string, and tie one end to a paper straw about 2/3 of the way down. Cut the second straw into thirds to get three pieces. (They don’t have to be exactly even. Just eyeball it.) Tie the other end of the twine to the middle of one of the paper straw pieces. This will be the kite handle.
- Add a drop of glue onto the knot you tied on the handle so that the string won’t slide off of the handle.
- Place the side of the kite that you want to be the bottom (the side that will hold the paper straw frame) face up on the table. Using a ruler and a pencil, connect the corners to draw a cross. Squeeze a bead of craft glue along the cross.
- Place the straws into the glue to form your kite frame, and allow the glue to dry for a few minutes. (Try to get the knot of the twine about even with the center of the cross before you press down the straw.)
- Cut a 20″ (or longer) piece of light-weight ribbon or string to make the kite tail. Thread it through the long straw, and add a bead of glue at the top of the straw to keep the string from falling out.
- Tie a few decorative ribbons to the tail, and allow all glue to dry completely.
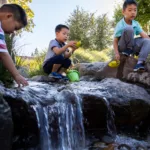
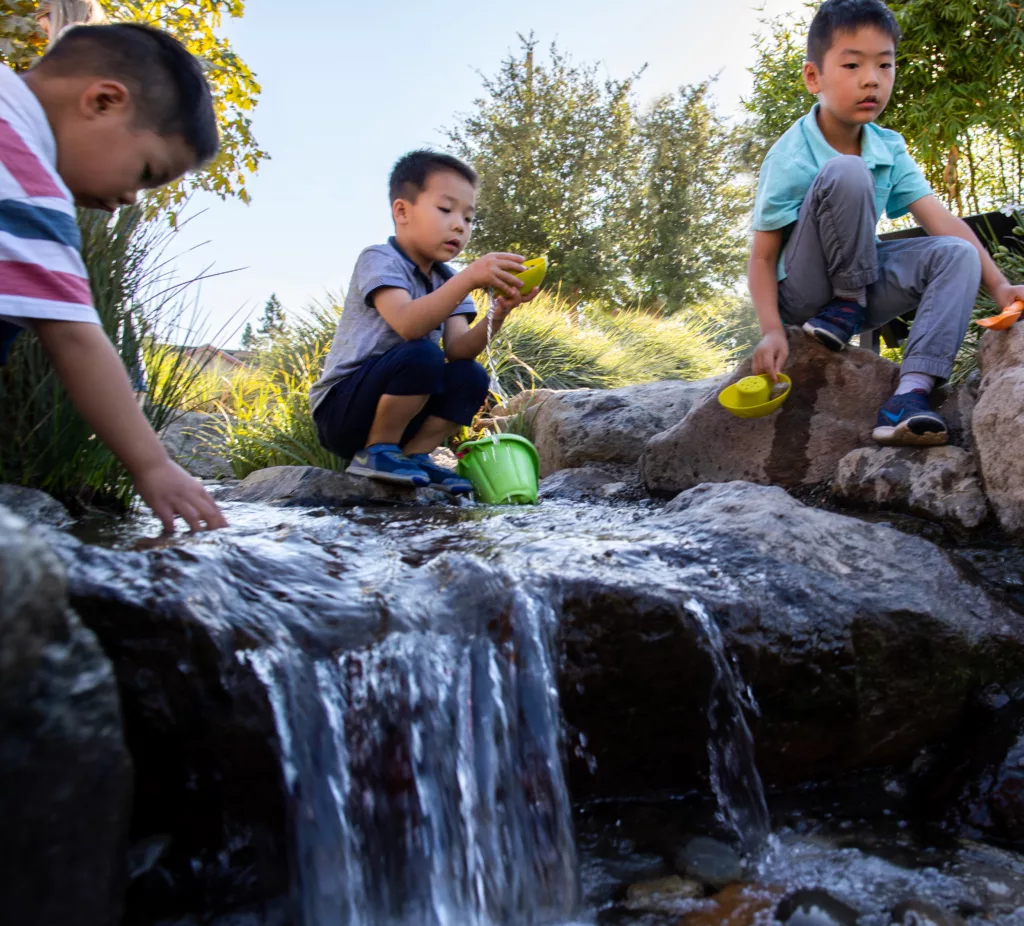
** Now, send the kids out into your yard to test the kites! Sure, the kites will fly higher on a windy day, but don’t let no wind deter you. No wind just means that the kids get a lot more exercise running around!