Spanish
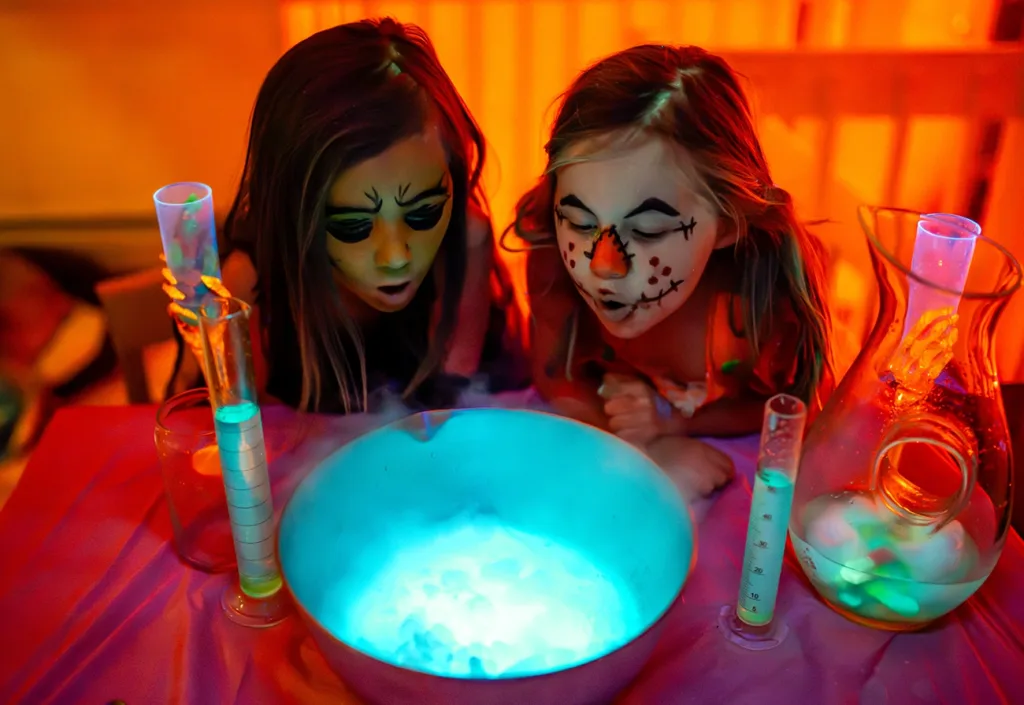
Looking for some fun ways to celebrate spooky season with your little one? Well, grab your lab coat, roll up your sleeves, and get ready to turn your kitchen into a mad scientist’s lab with these Halloween science experiments for kids!
These frightfully fun activities are hands-on, educational, and can be done with common household items, many of which you likely already have on hand! Read on to explore cool scientific concepts like chemical reactions, crystallization, phosphorescence, and more!
Halloween Activities for Toddlers
If you’re looking for Halloween activities for younger kiddos, be sure to check out our Halloween Activities for Toddlers blog! It’s full of simple, hands-on ideas perfect for little ones to join in the spooky fun safely.
Bubbling Witches’ Brew Science Experiment

Materials:
How to do the Bubbling Witches’ Brew Science Experiment:
- Place one of your bowls in the middle of your tray or baking pan. (This will catch and contain any spill over.)
- Scoop a couple of generous spoonfuls of baking soda into the bottom of your bowl.
- In a separate bowl, measure about ½ a cup of vinegar.
- Add several drops of food coloring to the vinegar and stir.
- Add a squirt of dish soap to the vinegar and mix gently.
- Slowly pour the vinegar mixture on top of the baking soda in the other bowl.
- Your witches’ brew will immediately begin to fizz, bubble, and foam up and over the sides of the bowl onto the tray, like a magical, bubbling potion!
- You can keep the bubbling going by adding a little more vinegar to any baking soda that hasn’t reacted yet.
Scientific Concept: Chemical Reactions
This fun Halloween science experiment for kids demonstrates a type of chemical reaction. A chemical reaction is a process where two or more substances are mixed, causing them to change or form a totally new substance.
In this case, vinegar and baking soda react to produce carbon dioxide gas, which creates all those magical bubbles. The dish soap traps the gas, making the foam look like a bubbling potion.
Dr. Frankenstein’s Light-Up Monster
Materials:
How to Make Dr. Frankenstein’s Monster:

- Draw and color your Frankenstein’s Monster. Or download our free template!
- Once your monster is ready, carefully use the tip of a pencil or scissors to make two small holes where your Monster’s eyes go.
- Your LED bulbs will be placed in these holes, so don’t make them too big!
How to Make Your LED Light Circuit:
- Place the coin battery between the two metal prongs of the LED bulb.
- Did it light up? If it didn’t, flip the battery over so the prongs touch the opposite sides this time.
- Once the light is on, fold the piece of foam around the battery and the LED prongs to keep them in place.
- Use the binder clip to clamp the foam, battery, and light bulb prongs together.
- As long as the battery and the LED prongs are touching, the light will stay on.
- Do this whole process again to create your second glowing Monster eye!
How to Make Dr. Frankenstein’s Monster light-up:
- Carefully push each of the light bulbs through one of the small holes you made in your Monster picture. The LED light should be showing through the front of the picture.
- Turn the paper over and tape your LED light circuit to the back of it, so the glowing eyes stay in place.
- Now your Dr. Frankenstein’s Monster is ALIVE!
- Proudly shout: “It’s alive! It’s alive!” (optional)
Scientific Concept: Electrical Currents
This Halloween science experiment for kids brings Dr. Frankenstein’s Monster to life and demonstrates how electricity works! Electricity is the flow of tiny particles called electrons. When electrons move from one point to another, that movement is called an electrical current.
In this experiment, you created a closed circuit, which is a continuous electrical current. The battery is the power source that pushes the electrons through the LED prongs, creating the electrical current that makes the bulb light up. If the LED prongs lose contact with the battery, the electrical current breaks, the electrons stop flowing, and the light goes out.
⚡️ Looking for more high-voltage fun? Join us on Saturday, November 22, 2025, for Electric Science!
Learn More >>>
DIY Borax Crystal Spiders
Materials:
How to Make Your Spider:
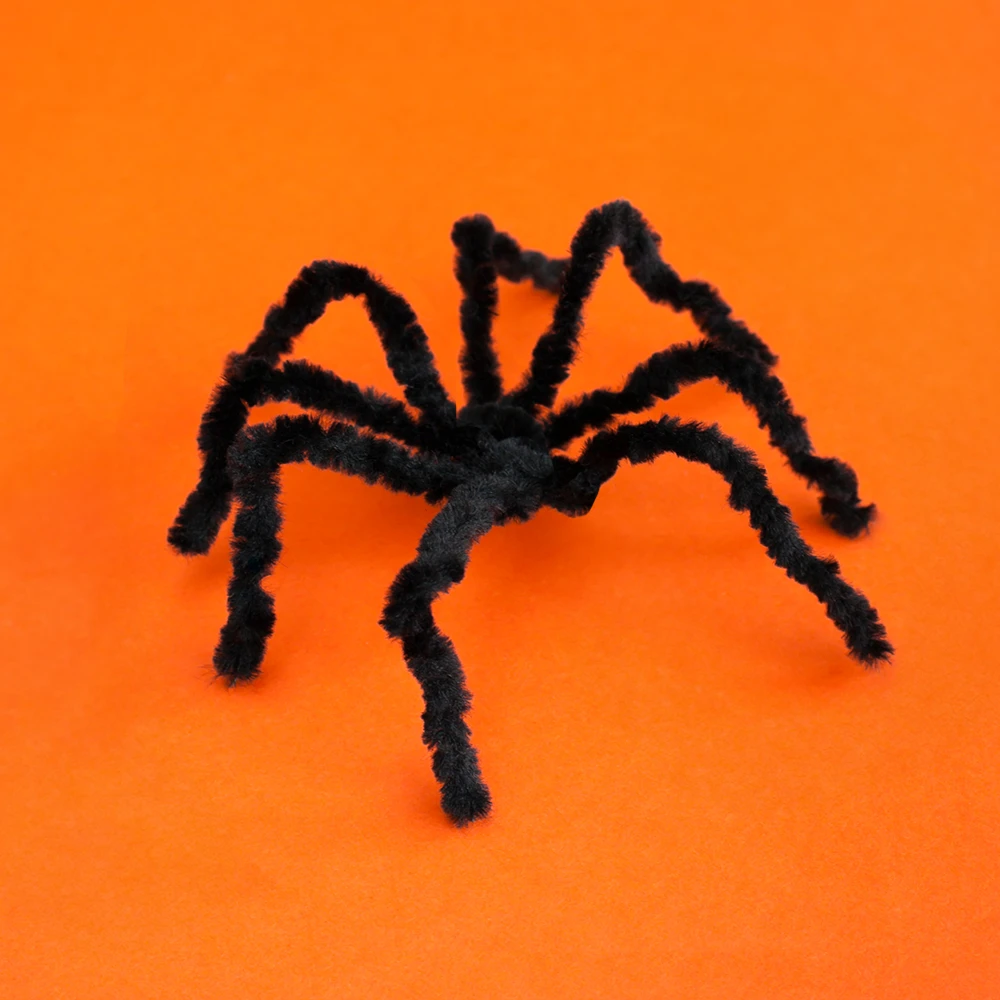
- Bend and twist your pipe cleaner into the shape of a spider, spider web, or any other spooky shape you want. Make sure it is small enough to fit inside your jar.
- Cut a piece of string and tie one end of your pipe cleaner spider.
- Tie the other end of the string to the center of the pencil (or stick). When you rest the pencil across the top of your jar, the pipe cleaner spider should hang freely in the middle without touching anything.
- Set your pipe cleaner spider aside for now.
How to Make Borax Crystal Solution:
- Boil water on the stove or in a kettle.
- Carefully pour the hot water into your jar. The jar should be about ¾ full.
- Add 3 tablespoons of Borax powder for every 1 cup of hot water in the jar.
- Stir the solution until the Borax powder dissolves. It’s okay if a little bit of powder settles at the bottom.
How to Grow Borax Crystals:
- Gently lower your pipe cleaner spider into the hot solution, letting the pencil (or stick) rest on the rim of the jar.
- Check that the spider is fully underwater and not touching the sides or bottom.
- Place the jar somewhere safe where it won’t be moved or disturbed and let it sit overnight. (12 to 24 hours)
- The next day, carefully lift the pencil and pull your crystal-covered spider out of the jar!
- Lay it on a paper towel to dry.
Scientific Concept: Crystallization
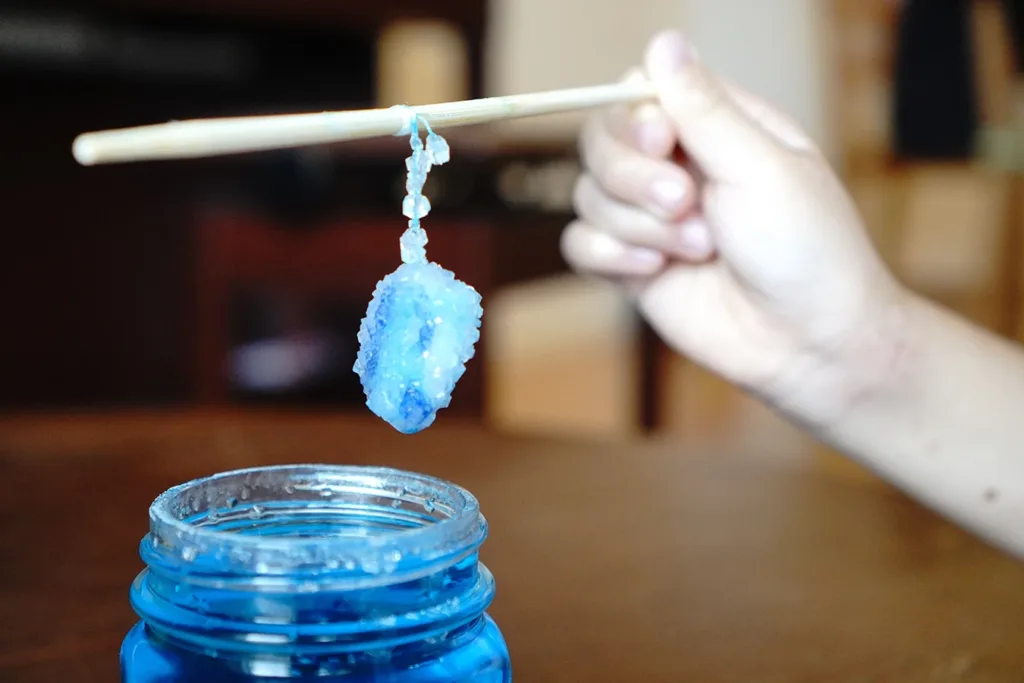
This science experiment demonstrates crystallization, the process of forming a solid crystal from a liquid solution. This happens when atoms or molecules arrange themselves into a tight, repeating, geometric pattern.
When you add the Borax to the hot water, the heat causes the water molecules to move farther apart, allowing them to hold much more Borax than they normally could. As the hot water cools, the water molecules move closer together again and can no longer hold the excess Borax.
The rough surface of the pipe cleaner acts as a perfect framework for the Borax molecules to grab onto and grow into the solid, geometric crystals you see. It’s a simple and fun way to see how natural crystals grow in nature, with a fun Halloween twist!
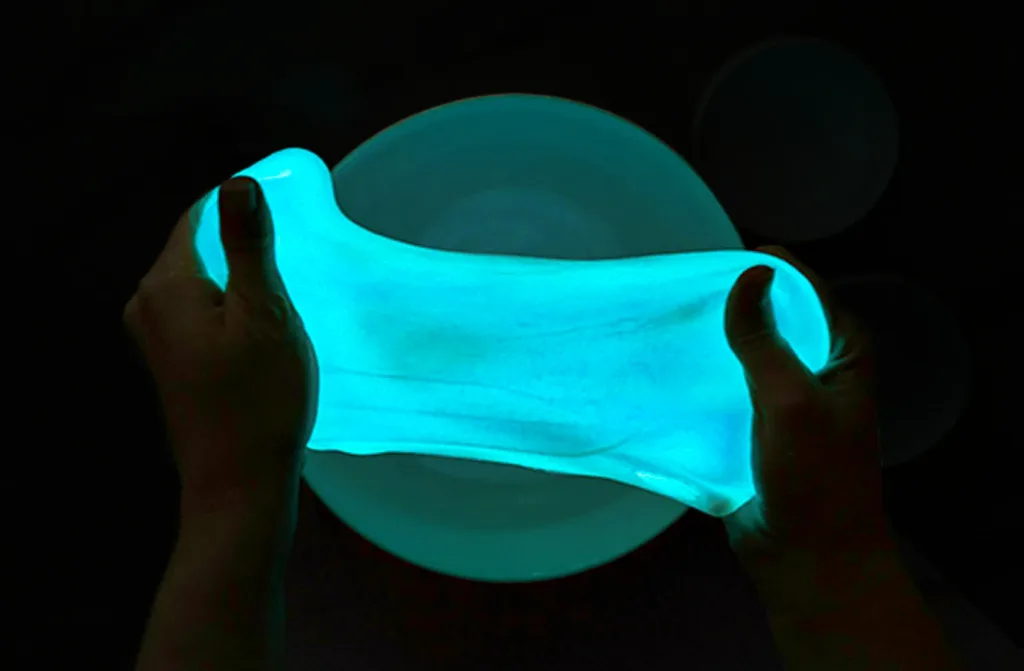
Glow-In-The-Dark Slime
Materials:
How to Make Glow-in-the-Dark Slime:
- Pour the bottle of glow-in-the-dark glue into your mixing bowl.
- Add ½ teaspoon of baking soda to the glue and mix it thoroughly.
- Add 1 tablespoon of contact lens solution to the mixture and begin kneading it like dough.
- If the slime is too sticky, add ¼ tbsp of contact lens solution to the mixture. Be careful not to add too much, or your slime will get stiff and break easily.
- Keep kneading with your hands until it becomes stretchy slime.
- Charge the slime under a bright light, then turn off the lights to see it glow!
Scientific Concept: Polymer Cross-Linking and Phosphorescence
This Halloween science experiment for kids demonstrates polymer cross-linking and the concept of phosphorescence. These two fun and fascinating reactions make your glowing slime both stretchy and luminous!
What is a Polymer?
A polymer is a substance made up of long, repeating chains of small molecules linked together like beads on a string. Glue is a type of polymer called PVA. When you make slime, the glue provides these long polymer chains that move and stretch.
What is Cross Linking?
Cross-linking happens when something connects those long polymer chains together, forming a more solid, but still stretchy network. When you mix glue with contact lens solution, the borate ions from the solution connect (cross-link) the glue molecules to each other.
This turns the liquid glue into a semi-solid that can bend and stretch without breaking, creating that perfect slime consistency.
What is Phosphorescence?
Phosphorescence is what makes your slime glow! The glue contains special materials called phosphors. When you shine a bright light on the slime, the phosphors absorb energy.
When you turn the lights off, the phosphors slowly release that stored energy, causing the slime to glow in the dark!
FUNtazmagoria: Kid-Friendly Halloween Event at the Children’s Museum

Want even more hands-on Halloween excitement? Join us for our annual kid-friendly Halloween event at the Children’s Museum of Sonoma County! Every October, we host FUNtazmagoria, a family-friendly Halloween-themed celebration. This spooky celebration features a number of fun and educational activities perfect for kids of any age.
Bring your little scientists and celebrate Halloween with learning, laughter, and imagination!