Spanish
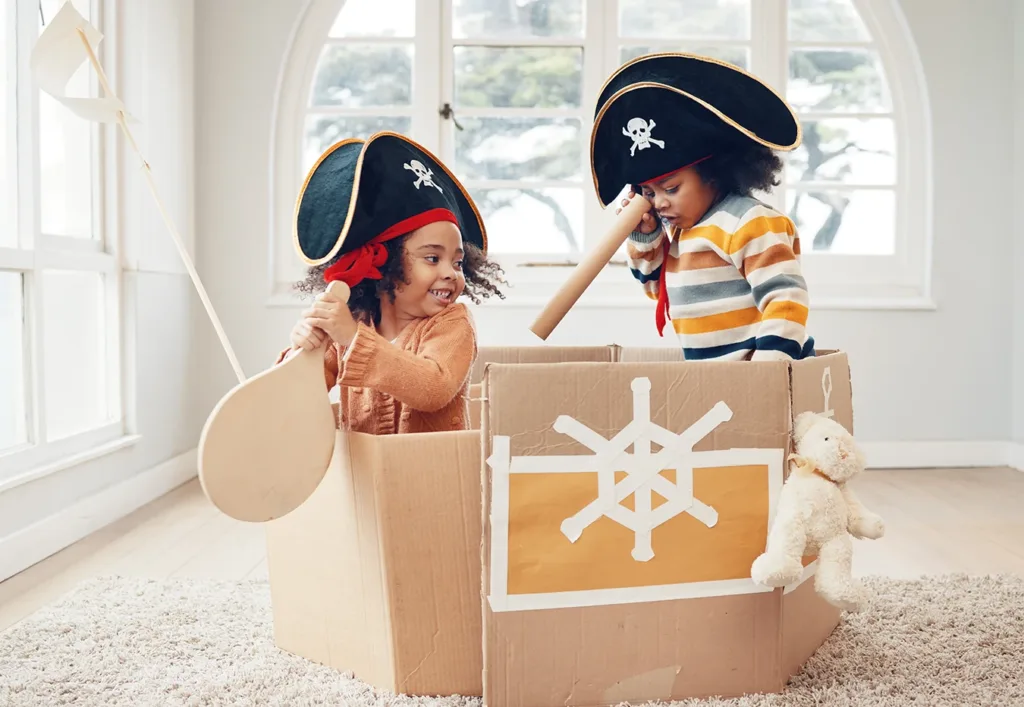
You know what they say: “One person’s trash, is another person’s treasure!” Well, when it comes to art projects, that couldn’t be more true! Your recycling bin is a literal treasure trove of creativity waiting to happen.
Upcycling art activities for kids are a fun, budget-friendly way to turn everyday household “trash” into beautiful works of art. These hands-on projects encourage creative thinking and fine motor development, while also demonstrating the value of sustainability. With just a few simple supplies and a little inspiration, children can create, experiment, and express themselves in fun and natural ways.
Below, we list ideas for open-ended art projects using common recyclables you likely have at home. Each activity includes step-by-step instructions, a list of supplies, and ideas for using the same materials to create all sorts of different artistic creations!
Upcycled Cardboard Box Creations
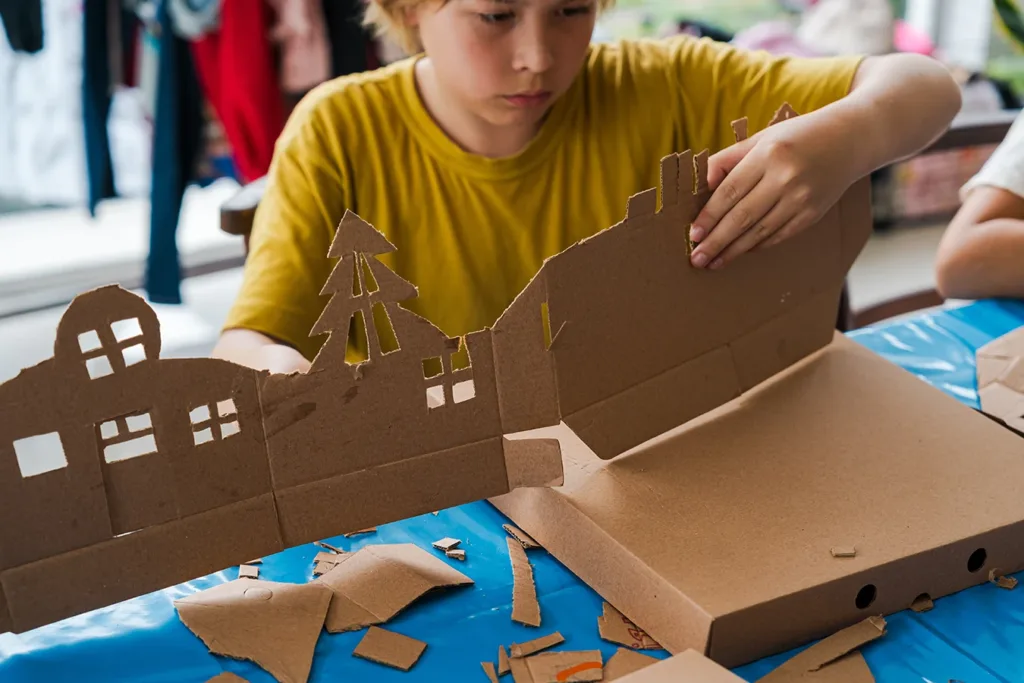
Upcycled cardboard box creations are a fun hands-on activity where children design and build anything they want! Kids can transform cardboard into castles, robots, spaceships, dollhouses, or anything their creative minds dream up. This open-ended project encourages early engineering skills, resourcefulness, and creative thinking.
What you’ll need:
Benefits:
How to make upcycled cardboard box creations:
- Gather your boxes: shipping boxes, cereal boxes, tissue boxes, shoe boxes, etc.
- Figure out what you want to make: a castle, sailboat, animal, robot, imaginary world, cardboard fort, etc.
- If needed, help younger children cut openings for doors, windows, or other shapes.
- Decorate your creation using drawing tools and other recycled embellishments.
- If needed, allow time to dry before playing or adding sheets or blankets for forts.
- Once complete, ask them to explain their creation and/or encourage pretend play to build storytelling skills.
DIY Paper Roll Critters
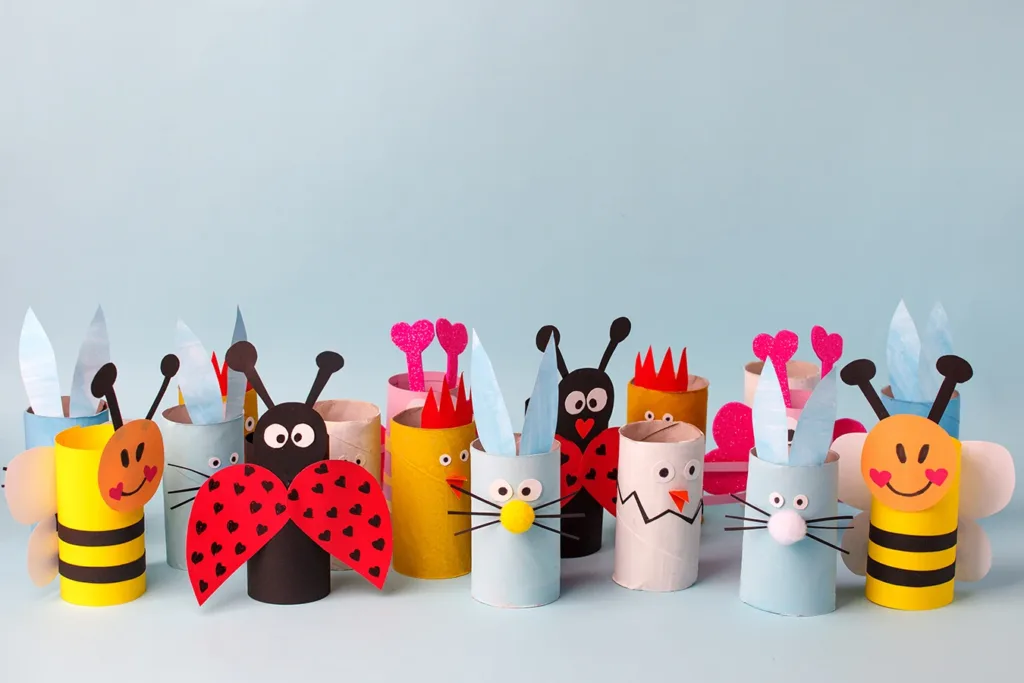
This simple upcycling craft project lets kids turn empty toilet paper and paper towel rolls into playful animals, insects, and other fantasy critters. Children can design their favorite animal or made-up characters by adding ears, wings, googly eyes, whiskers, and other colorful details. This project strengthens creativity, fine motor skills, and storytelling as kids bring their creations to life.
What you’ll need:
Benefits:
How to make DIY paper roll critters:
- Remove any leftover paper from the rolls.
- Choose a critter to create: a bug, an animal, a character, or an imaginary creation.
- Paint or color the paper roll to create the body of the critter.
- While waiting for it to dry, cut out the ears, wings, legs, or tails from other scrap materials.
- Glue or tape the pieces onto the roll.
- Add final decorative details and facial features.
- Let dry completely before playing with your paper roll critters.
Upcycled Paper Collage Art
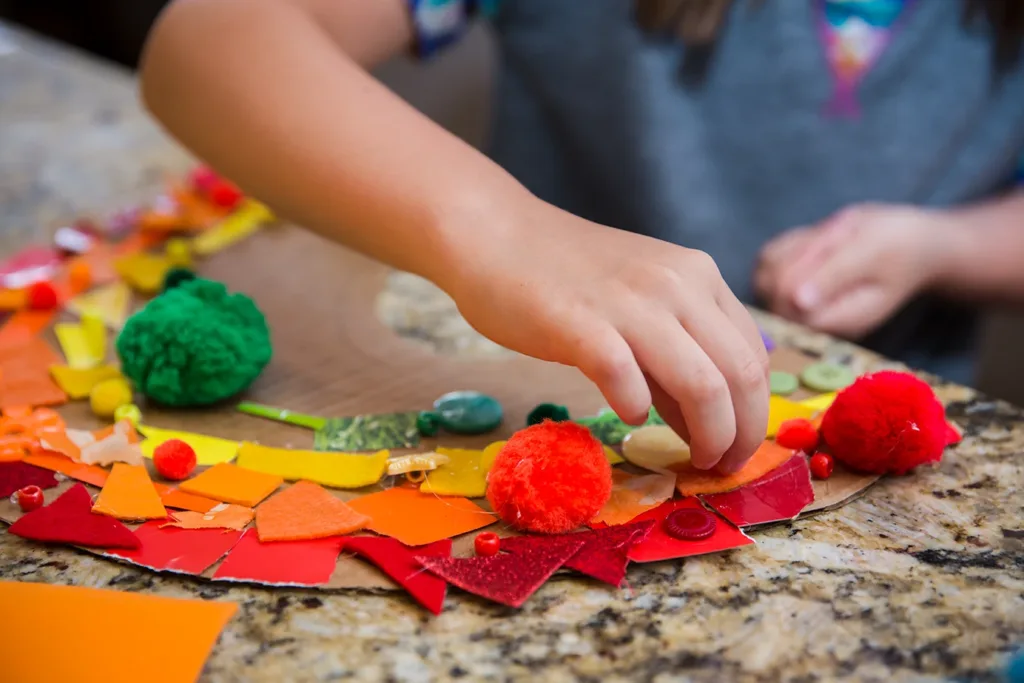
Collaging is a great upcycled art activity for kids to learn about colors and shapes! They can create vibrant art using recycled magazine pages, tissue paper, junk mail, and other scrap paper. This project builds creativity, color, and shape recognition, and fine motor coordination while teaching the value of reusing materials.
What you’ll need:
Benefits:
How to make upcycled magazine collage art:
- Decide what you’d like to create: a blue moon, a yellow sun, a colorful flower, a rainbow, a landscape, or an abstract design.
- Cut out the shape of your design from a piece of paper, cardstock, or cardboard to be the base of your collage.
- Tear or cut out colorful pieces of paper, choosing the colors you need to create your design.
- Sort the different colors into separate piles as you go.
- Arrange the paper pieces on your base to create your design. Move them around until you’re happy with the layout.
- Glue the pieces down and allow the collage to dry completely.
- Add extra details with markers or crayons if desired.
- If you’d like to display the artwork, punch holes at the top and attach a string or ribbon for hanging.
Recycled Plastic Bottle Art
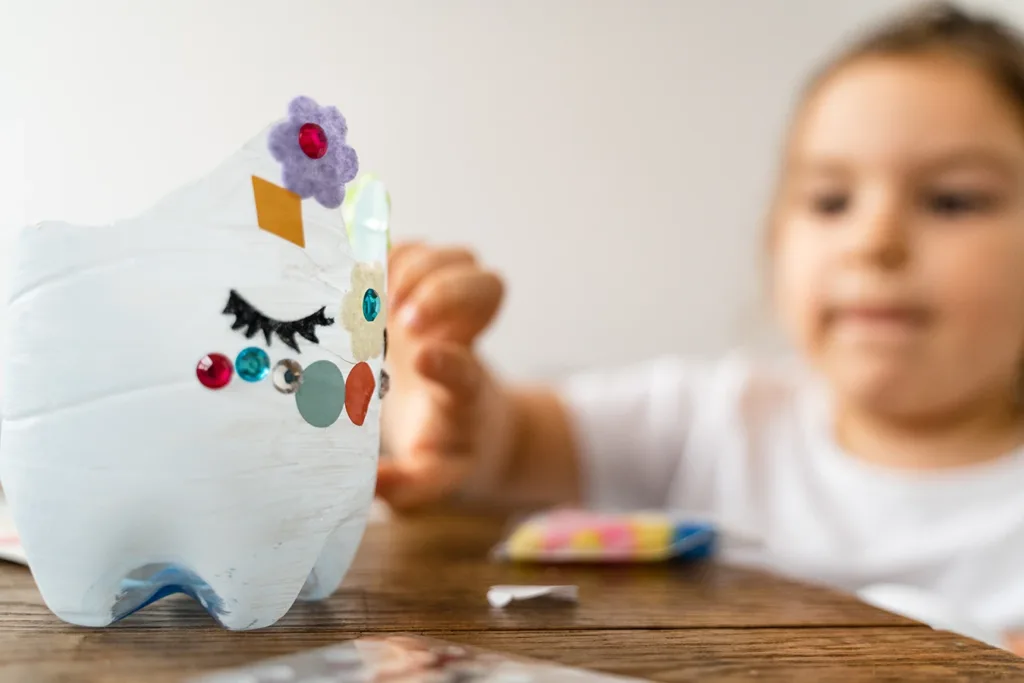
Empty plastic bottles can be transformed into a wide variety of useful and creative items. Children can paint and embellish the bottles to make something that is both functional and fun, like a music shaker or decorative pencil holder. This project introduces creative design thinking while showing how everyday items can be repurposed.
What you’ll need:
Benefits:
How to make recycled plastic bottle art:
- Figure out what you want to make: a musical shaker, a planter, a pencil holder, or another useful item.
- If needed, cut the bottle to the appropriate size or shape for the chosen design. For example, leave it whole for a shaker or trim it shorter for a pencil holder, and add drainage holes to the bottom for a planter.
- Paint and decorate the outside of the bottle to match its new purpose. Allow time to dry if needed.
- Add what makes the item useful:
- For sound shakers: add some dried rice or beans, leave space for movement, and secure the cap tightly with tape.
- For pencil holders or other containers: ensure edges are smooth and the bottom is stable.
- For planters: add soil and make sure the drainage holes don’t get clogged
- Put it to use: fill with pencils, plant seeds, or experiment with sound!
Creativity Comes to Life at the Children’s Museum of Sonoma County!
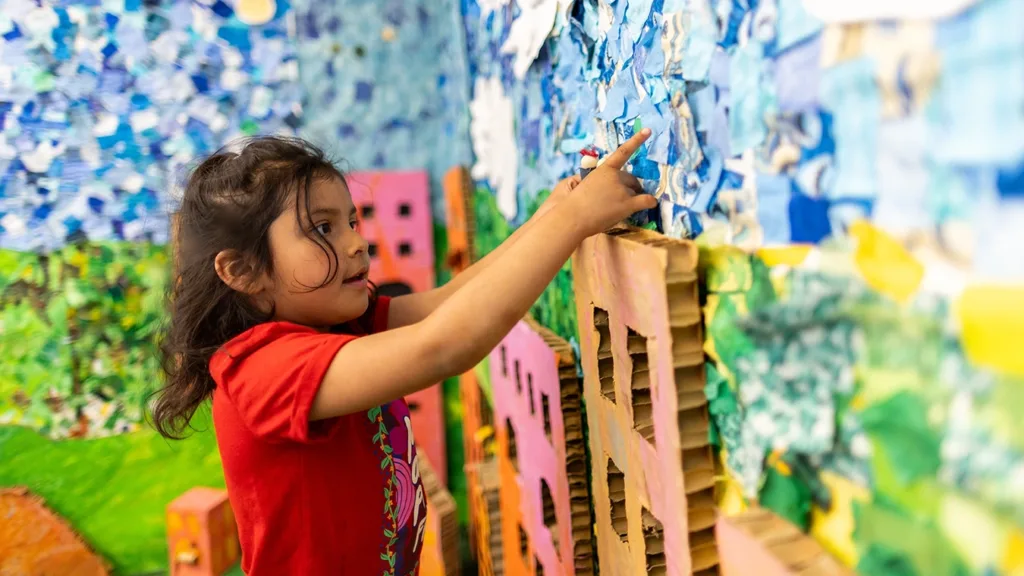
Looking for even more creative learning outlets? Visit the Children’s Museum of Sonoma County!
Our interactive exhibits offer endless opportunities for kids of all ages to discover, play, and learn. During your next visit, make sure to check out our Sorting Station exhibit! In this fully interactive space, children can drive their own waste collection trucks and practice sorting materials into recycling, compost, or landfill, and more!
We also host a variety of fun and educational programs throughout the week that are free for all museum visitors. Join us in the S.T.E.A.M. Room to explore fun activities focused on Science, Technology, Engineering, Art, and Math! Or drop in for Creation Station, our open studio program that encourages kids to create art using all recycled and repurposed materials!
Exhibit Spotlight: Sorting Station
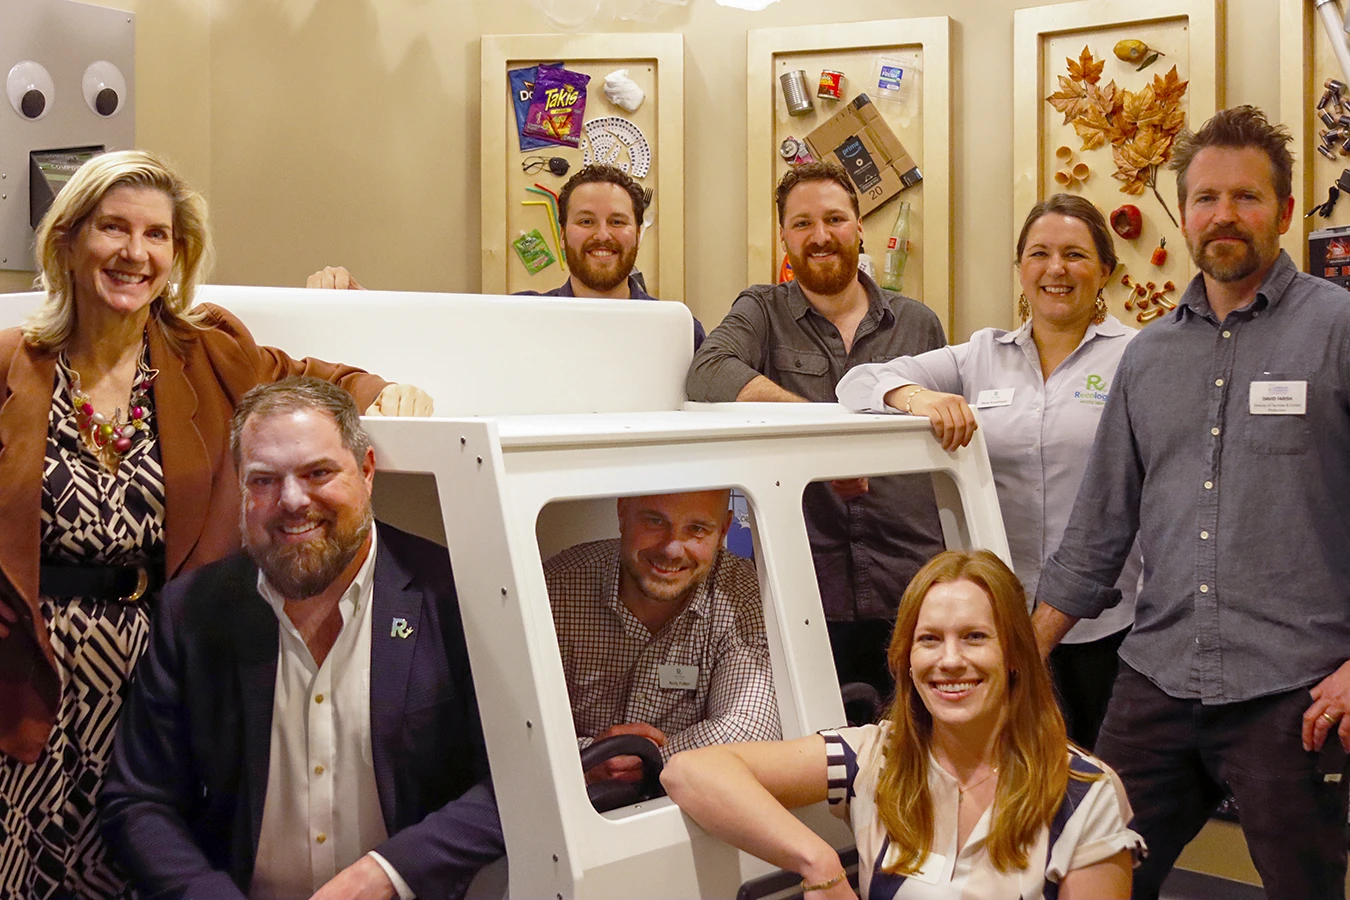
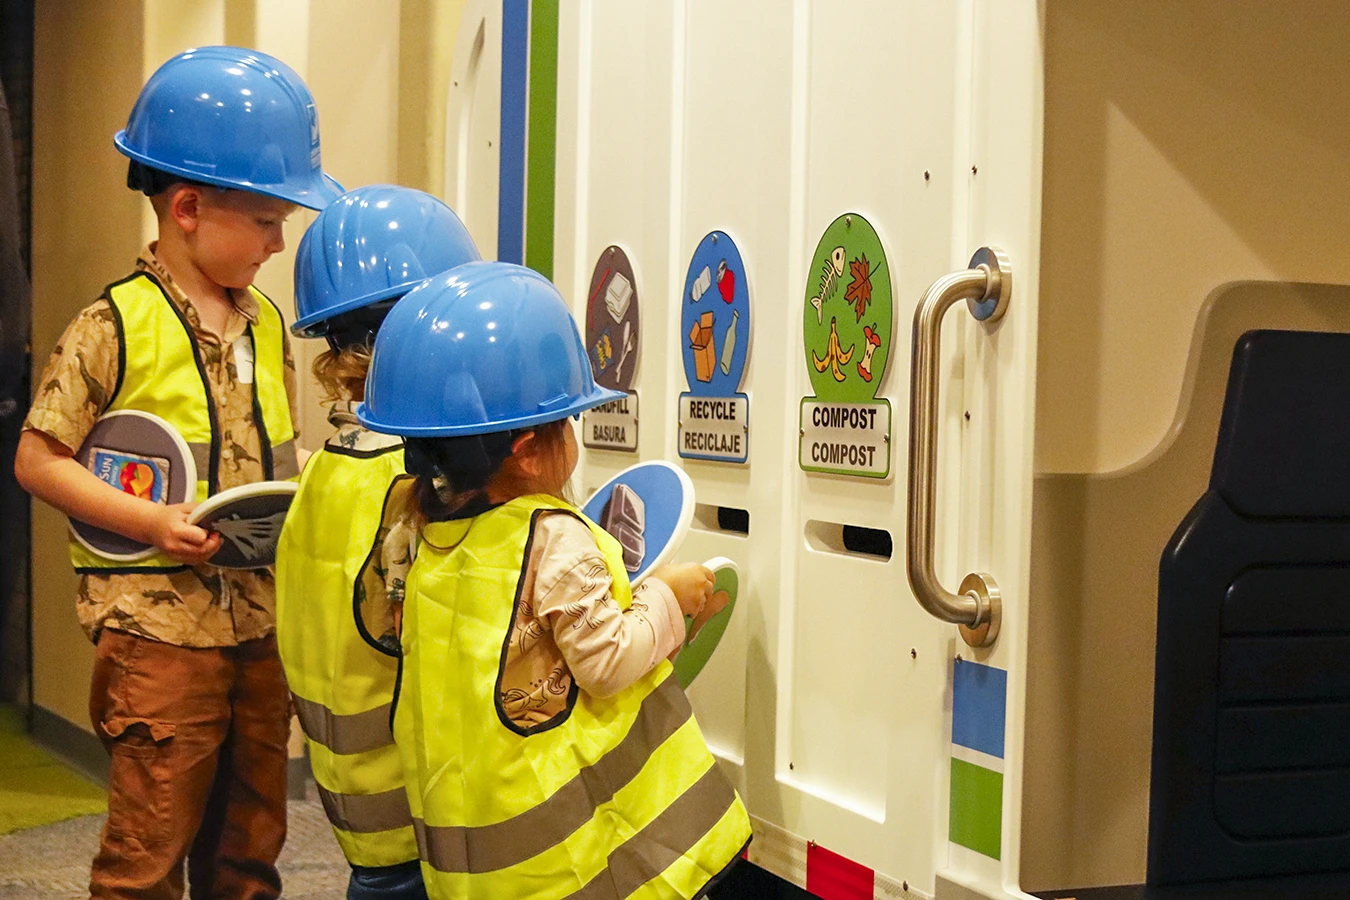
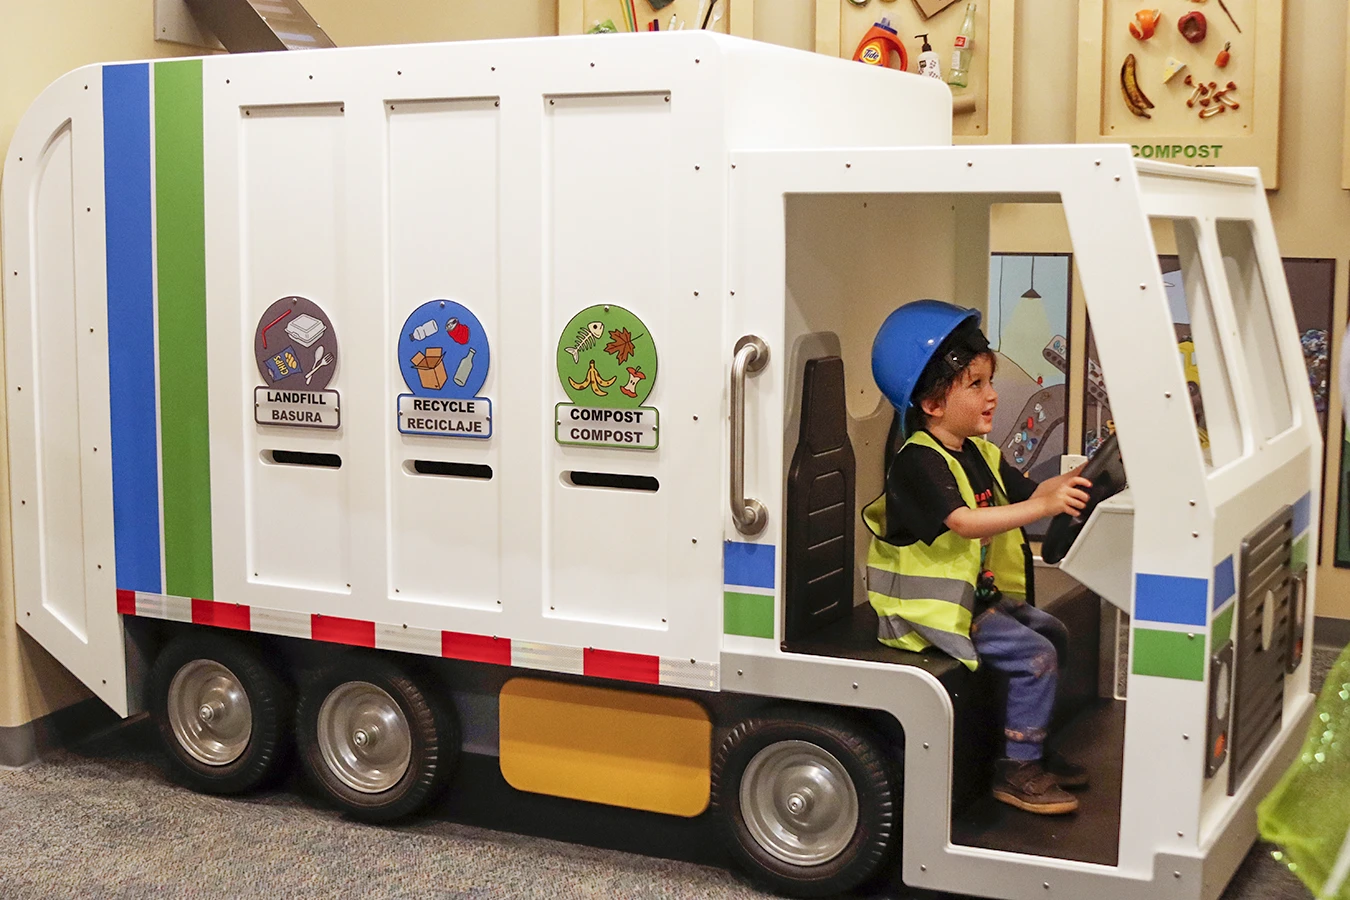
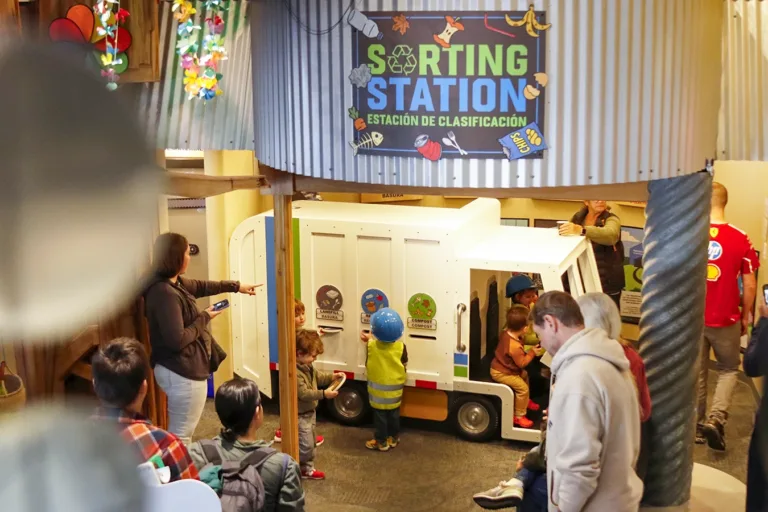
Welcome to the Sorting Station! This playful, hands-on exhibit lets kids become recycling heroes! Sorting Station makes sustainability easy to understand through movement, role-play, and interactive fun.
Through hands-on play, children learn how everyday actions can make a big difference! At the Sorting Station exhibit, kids can:
🚛 Drive a mini collection truck
👷 Suit up with a hard hat and safety vest
🗑️ Pretend to pick up recycling around the neighborhood
♻️ Sort and dispose of recycling, compost, and waste into the correct bins
⚙️ Run the conveyor belt to move materials along
🌎 Learn what happens to materials after they’re collected