Make Your Own Snow Days at Home With These 5 STEAM Activities for Kids
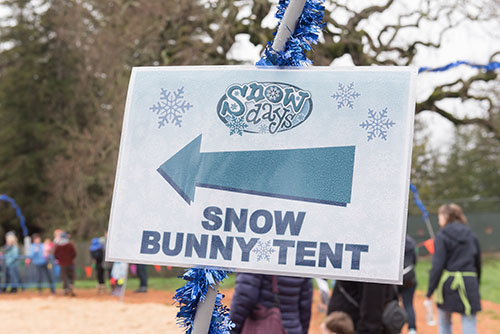
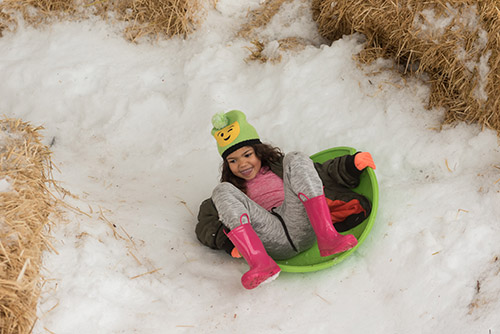
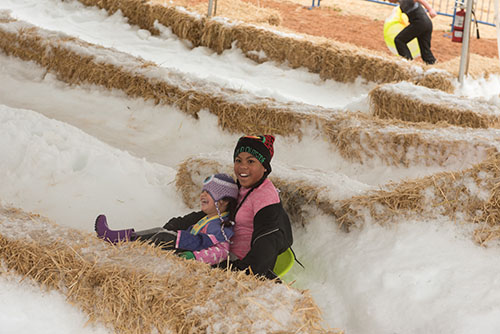
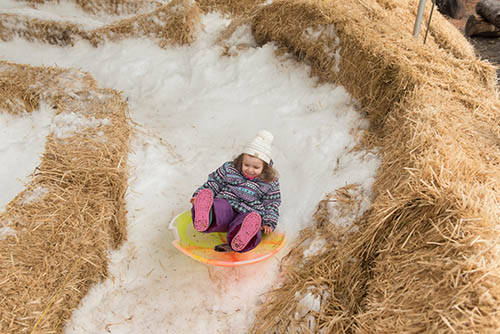
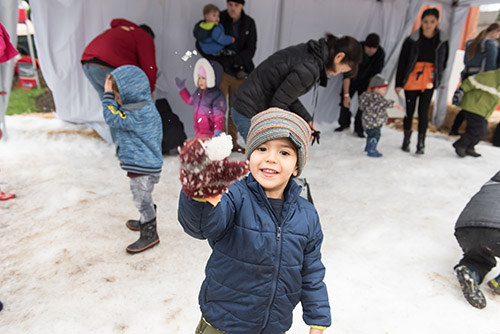
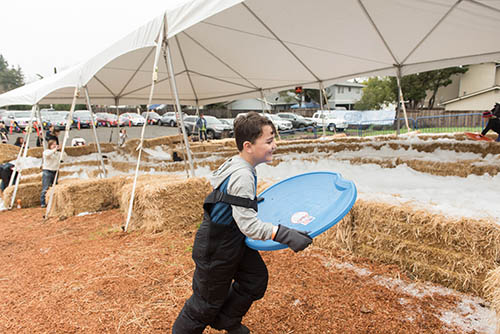
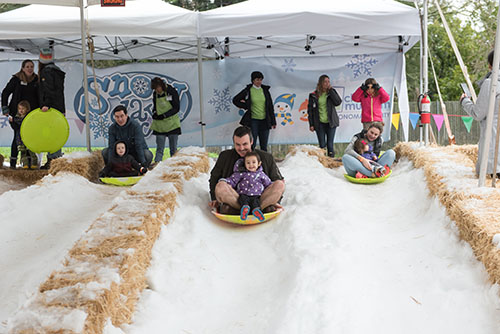
Our annual Snow Days event is one of our most popular celebrations at the Children’s Museum of Sonoma County. All of the admission proceeds from this yearly benefit allow us to provide children and families in our community affordable access to the Children’s Museum. Snowfall is uncommon in Sonoma County, so during the Snow Days event we bring in 50 tons of snow and set-up a variety of snow-themed activities and attractions!
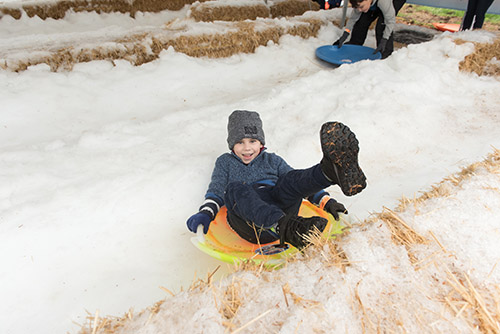
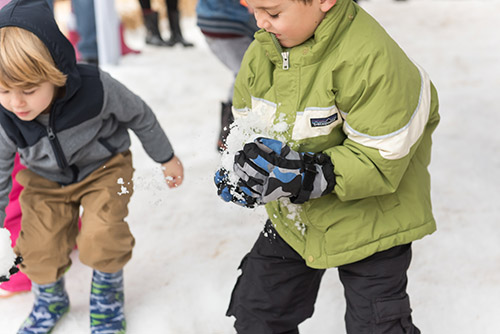
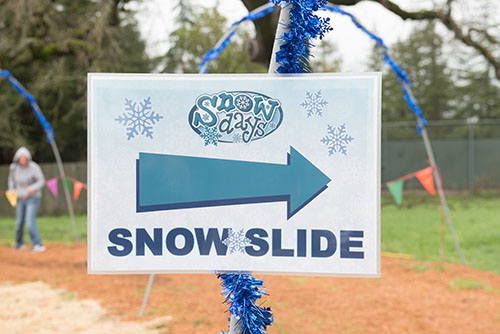
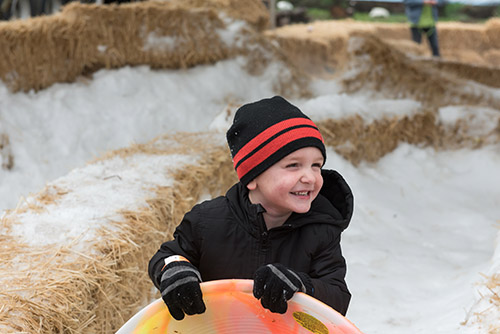
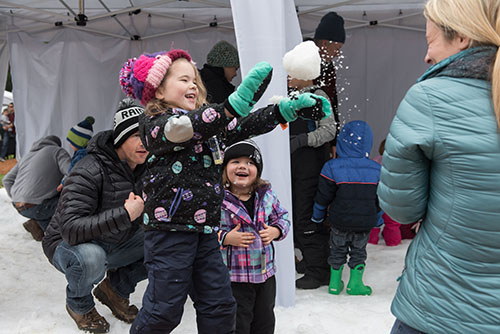
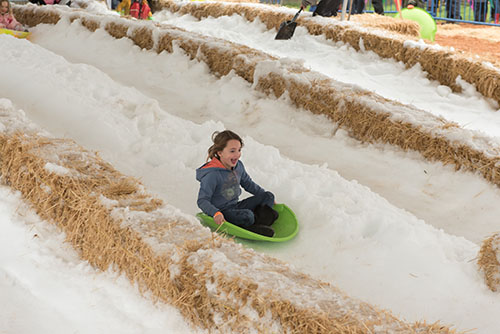
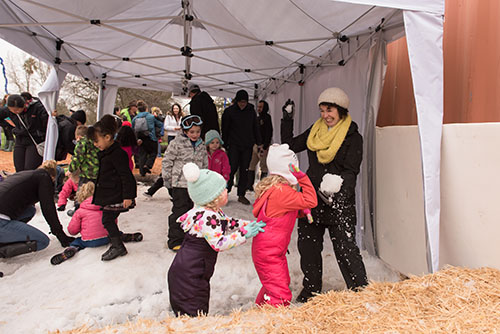
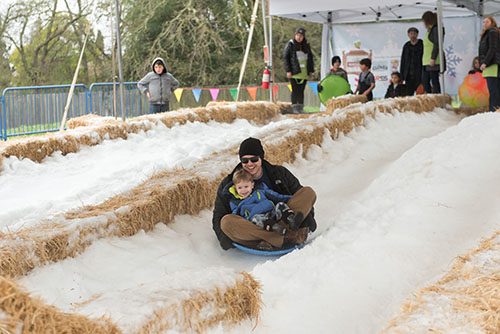
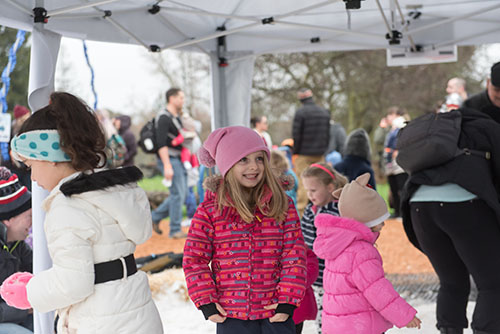
The children and their families dress in warm snow clothing and enjoy a holiday weekend full of fun winter games and educational opportunities. One of our most popular attractions for children and their families is our giant sledding hill constructed out of real snow! We also use a snow machine to simulate snow falling from the sky, and set-up an inflatable snow globe that kids can crawl inside to have their photo taken.
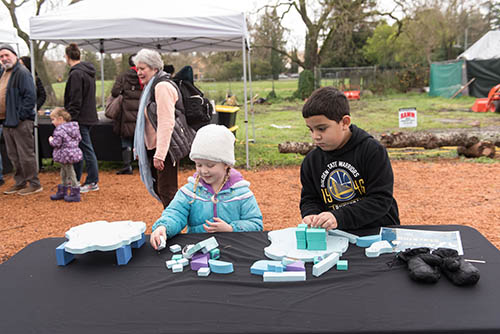
Our Snow Days attractions also include exciting and entertaining snow-themed STEAM activities! STEAM stands for Science, Technology, Engineering, Art, and Math. These activities incorporate engaging educational projects that are fun for the entire family and encourage a lifelong love of learning in children!
Why are STEAM Activities Important for Early Childhood Development?
STEAM is an educational technique that encourages developing minds to establish lifelong skills while learning about the world around them through play! STEAM projects are specifically designed to help children of all ages to utilize logical thinking and develop motor skills along with other cognitive abilities. They provide positive experiences that inspire little ones to try new things, experiment with news tools, be creative, and ask questions!


5 Snow Days STEAM Activities You Can Do at Home This Year
Since our annual Snow Days event at the Children’s Museum of Sonoma County was unfortunately canceled this year, our team wants to help you celebrate at home! Read on to learn how you can use common household items, (and a little pre-planning) to celebrate your own Snow Days at home! Note: For an authentic Snow Days experience at-home, some items need to be purchased in advance.
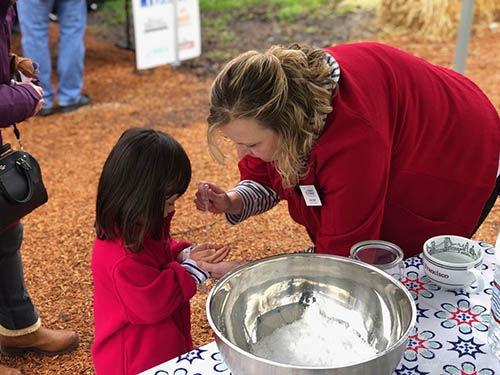
With this fun STEAM science project, kids will be able to utilize hands-on, scientific experimentation to create their own snow!
Insta-Snow is the original instant snow powder. It turns ordinary water into a white fluffy substance that looks like real snow in seconds! You won’t believe your eyes. Just add water to the mysterious white powder and, in seconds, the transformation begins.
Science Vocabulary Terms
- Polymer
- Absorption
- Endothermic
Supplies
- Container of Insta-Snow
- Water
- Miscellaneous containers
- Plastic baggies
- Watercolors (optional)
- Decorative pieces – googly eyes, foam cut outs (optional)
Directions
Making Insta-Snow in Hands:
- Measure one blue scoop into your hand and add water.
- Try to keep all the powder and water in your hands. Within seconds, you will have faux snow that’s cool to the touch!
- You can play with it, or you can collect all of it in a big bowl for play.
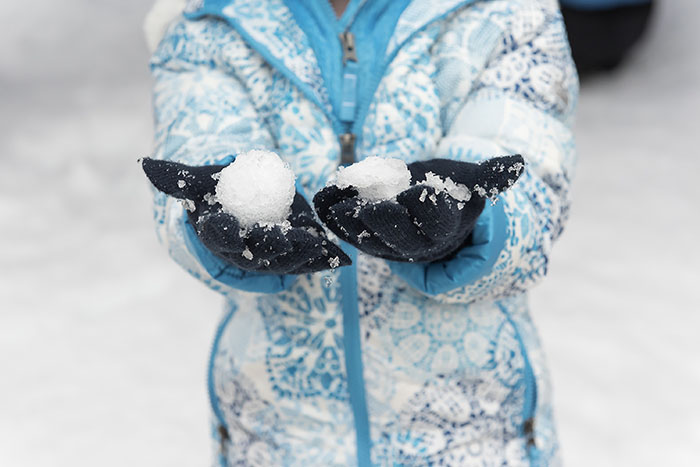
Make an Insta-Snow Ball:
This can be a bit tricky, but it could be a fun challenge!
- After you’ve made a batch of Insta-Snow, push it into a pile.
- Carefully pour a small amount of water into the middle of the Insta-Snow and cover the hole you create with more snow from around your pile.
- Gently slide your hand underneath the pile and scoop out your Insta-Snowball.
- At this point, the snowball is very fragile. Put it in the freezer for a while to solidify it and make it more stable.
Insta-Snow People:
- Make a bunch of small Insta-Snow balls.
- Put your Insta-Snow balls in the freezer to stabilize.
- Combine them with googly eyes and other decorative pieces to make Insta-Snow People.
Colored Insta-Snow:
- Color the water you use to make the Insta-Snow with some of the liquid watercolor and see what happens to the snow that develops!
The Science of Insta-Snow
What’s happening? What are the take-ways? Insta-Snow is a super-absorbent polymer, which means that it “sucks up” water. The reaction is endothermic, meaning that the Insta-Snow feels cold to the touch because it needs energy and draws heat away from your hands.

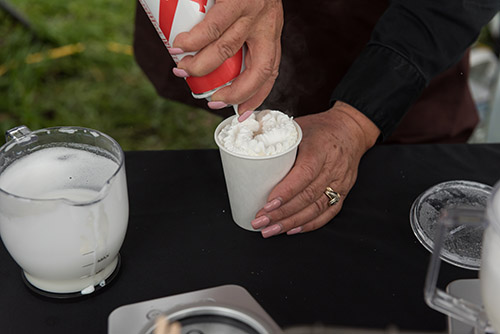
Technology for kids doesn’t always have to be ‘high-tech’. In fact, the “technology” we use in STEAM learning is designed to help children learn how to utilize specific tools to achieve different tasks — like using kitchen tools to make hot chocolate!
Using common household kitchen items, kids can be introduced to new tools and establish lifelong skills. And the best part is that they get a tasty cup of hot chocolate as the result of their work!
Supplies/Tools:
- A mug
- Cocoa mix (Instant is best)
- A stirring spoon
- Hot milk or hot water
- A stove top or microwave
- A flat surface to mix on
- Mini marshmallows (optional)
Directions:
- Have an adult preheat the water or milk on the stove or in the microwave. (If you’re using the stove, supervise your little one and allow them to gently stir the liquid.)
- Place your mug on a flat and stable surface and have an adult carefully pour the hot liquid into it.
- Watch as they pour it in, and tell them when the cup is almost full to the top. They will need your help to make sure they leave enough room to add the hot chocolate mix!
- Open your hot chocolate mix and pour the powder into your mug of hot liquid. Try and get it all in but be careful not to touch the mug with your hands, because it will be hot!
- Use your spoon to slowly and gently stir your chocolate powder in a circle. Stir until your liquid has turned a yummy chocolate color, and no more powder is visible.
- If you have mini marshmallows, count out loud as you add them one by one into your hot chocolate mug.
- While your drink cools, take your mixing spoon, and any other kitchen tools you used to the sink and wash them. Then put your remaining ingredients away where they belong.
- Once your work space is clean and your hot chocolate is cool enough to drink, enjoy every sip!
Learning to Use Kitchen Tools Efficiently
Encourage your little one to try out different kitchen tools to stir their hot chocolate. Try a whisk, slotted spoon, wooden spoon, etc., to see how well they work!
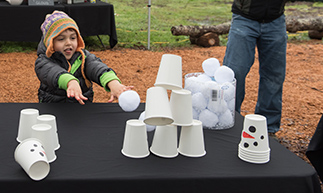
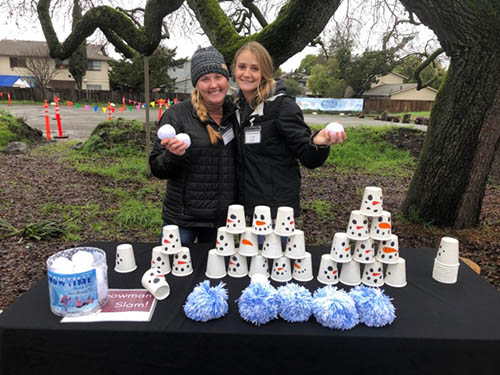
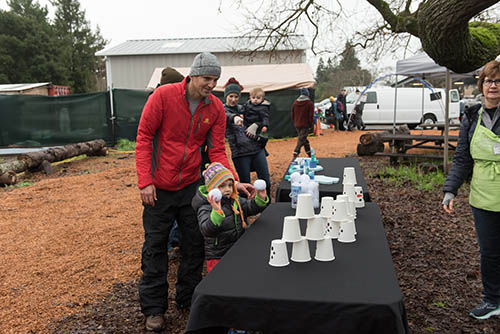
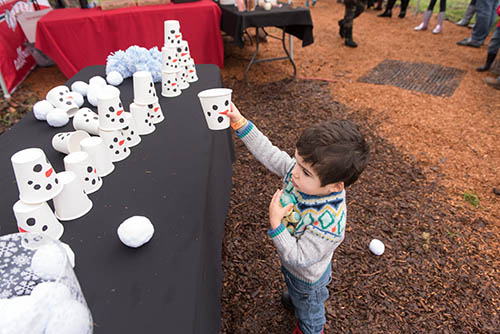
Our snowman building bowling game is an engaging activity that can help your child develop engineering skills! DIY engineering projects are a fun way to help children of all ages develop a deeper understanding of how to build and create. They can begin to see how to use new tools, find creative ways to achieve their goals, gain an understanding about balance, much more!
Supplies:
- 10 White paper cups
- Black and orange markers or crayons
- A table or any flat surface to build on
- 1-2 lightweight balls (to bowl with)
- A pen and paper to keep score
Directions:
Building your Snowman Pyramid:
- Draw snowman faces on all 10 white paper cups (Eyes, orange carrot nose, and a dotted smile).
- On a flat surface, place 4 snowman cups in a row.
- Build your snowman pyramid up by placing 3 more cups on top of your first row.
- Continue building up!
- Row 1: 4 cups
- Row 2: 3 cups
- Row 3: 2 cups
- Row 4: 1 cup
Snowman Bowling Activity
- Once you have built your paper cup snowman, use a lightweight ball to try and knock them all down. Just like bowling!
- Try to roll or toss the ball to knock down as many cups as possible in one turn.
- Count how many cups fall in each turn and write it down on a piece of paper.
- After each turn, re-build your snowman so the next person and bowl.
- Whoever knocks the most snowman cups down, wins!
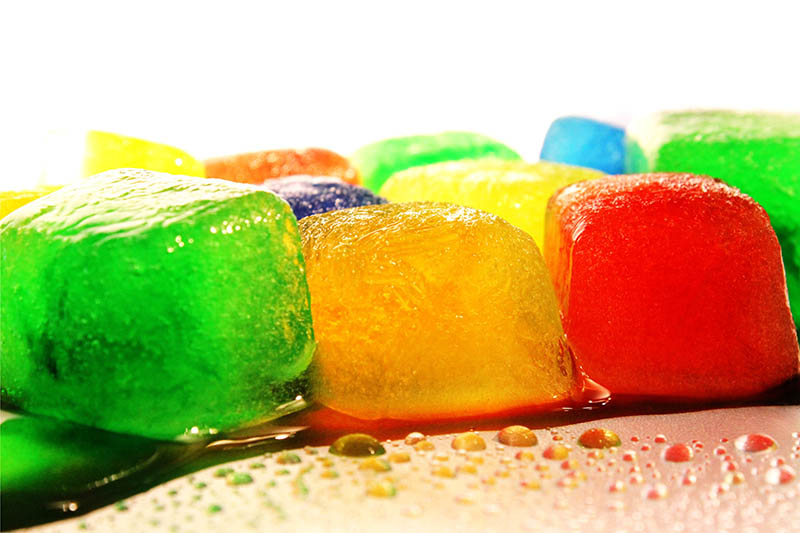
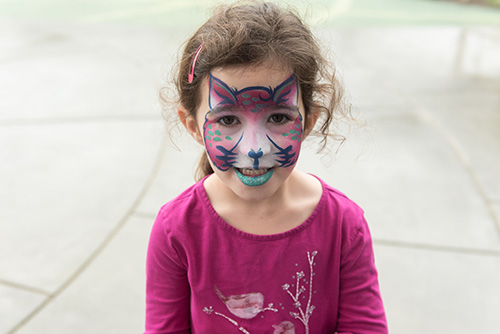
Encouraging creativity can benefit every aspect of your child’s development. Art projects allow kids to use all of their senses while also practicing positive self-expression.
This ice painting art activity for kids is lots of fun, and a cool and unique way to encourage creativity. It’s so simple to prepare and they will love creating vibrant colors and mixing them to make new colors.
Supplies:
- Tempera paint
- Water
- Ice cube trays
- Craft sticks
- Paper
Directions:
This Snow Days art activity does require a little prep work a day ahead of time.
How to Prepare for Your Ice Painting Art Activity the Day Before:
- Squirt a little bit of paint into each of the sections of the ice cube tray.
- Add water to each section and stir well to combine the paint and water.
- Put it in the freezer for an hour-ish.
- After an hour-ish, add the craft sticks (as handles for painting) to each section.
- Freeze for many hours, or overnight, so the ice cubes are frozen solid.
Ice Painting Art Activity:
- They pull the ice cubes from the tray and use the melting colored water/paint combo to make designs on their paper.
- Make it an experiment and try several different types of paper. Which one works best? Why?
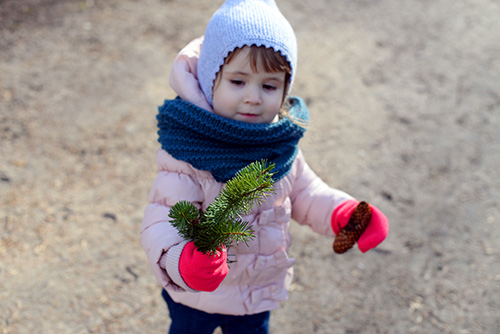
Our winter scavenger hunt is a fun outdoor activity that allows children to explore nature, and use their math skills at the same time. Children naturally begin using basic math at a very young age. And STEAM math activities help children establish a positive relation with mathematical concepts through play!
This scavenger hunt will provide a hands-on math experience and help young minds develop a better understanding of the relationships between numbers, patterns, and shapes.
Supplies:
- Warm outdoor clothes
- Your scavenger hunt list (Our suggestions are available below, but making your own list could be fun too!)
- A pencil or crayon to mark off the items you find
- 1 plastic or paper bag to collect liter
- Protective gloves, or a trash picker to collect liter
Directions:
- Find 1 evergreen tree (a tree with leaves year round). Some common evergreen trees in Sonoma County are:
- Cedar Trees
- Cypress Trees
- Oak Trees
- Palm Trees
- Pine Trees
- Redwood Trees
- Look for 2 different birds. They might be resting in the evergreen tree, flying in the sky, or searching for food around the area. Do you know the names of the birds? What colors are they?
- Look for 3 different colored leaves (green, yellow, red). Are the leaves also different shapes? Does it look like the leaves came from the same tree? If so, why are they different colors?
- Search for 4 pinecones from an evergreen Pine Tree. (Or 4 acorns from an evergreen Oak Tree. Or 4 different shaped rocks, stones, or pebbles.)
- Pick-up 5 pieces of litter to throw away or recycle when you’re done!
Tell CMOSC How Your Family Celebrated Snows Days at Home!
All of us at the Children’s Museum missed celebrating Snow Days with you, but we look forward to inviting you back as soon as possible! In the meantime, we want to hear how your family kept up the beloved Sonoma County Snow Days tradition!
How did you celebrate your own Snow Day at home this year? What was your favorite snow-themed STEAM activity? Was it a science, technology, engineering, art, or math project?
Or tell us which Snow Days activity you are most excited to do again at CMOSC!
Follow and tag CMOSC on Social Media: