Make Learning Fun With These Train Activities You Can Do at Home
If there is a little one in your life who loves railroads, locomotives, and steam engines, you’re in the right place – welcome aboard! These easy and fun train-themed activities are specifically designed to provide positive learning experiences to children of all ages.
Playtime encourages children to explore, discover, and learn about the world around them. By making learning fun with hands-on activities that appeal to their special interests, kids are more likely to develop a positive relationship with learning that can last a lifetime.
These train-themed activities and crafts are sure to inspire young learners to try new things, experiment with new tools, ask questions, and be creative! Read on to learn how you can use everyday household items to create fun train-themed activities for the little train enthusiast in your life!
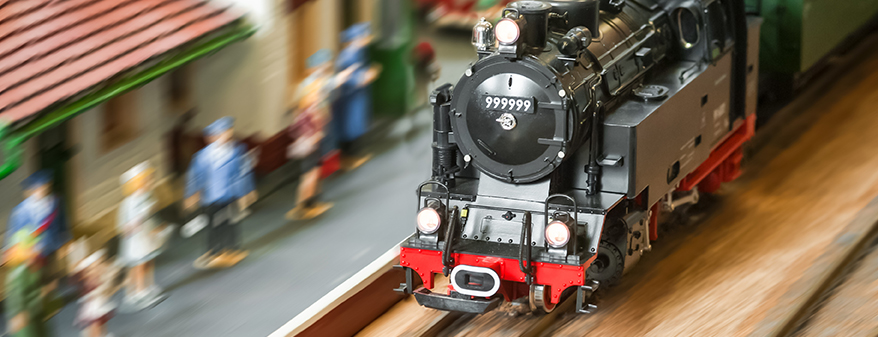
1. The Science of Train Wheels
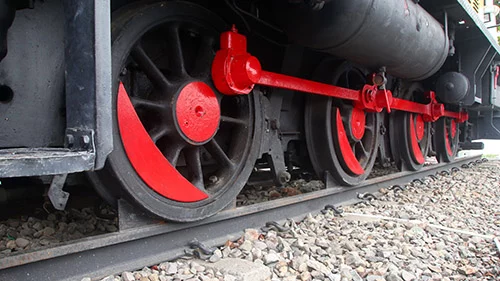
Have you ever watched a train roll by and wondered how it stays on the tracks? The answer is science, of course!
It might not be obvious to the naked eye, but the shape of the train’s wheels is actually a little more complex than the wheels on your bike, or car. Train wheels are actually semi-conical shaped and this specific design is what keeps locomotives on the tracks!
In this science experiment, your little conductor can see up-close exactly how the design and shape of the train wheel can make a big difference in how they roll on a track.
This science experiment was inspired by Svenja Lohner, Ph.D., at ScienceBuddies.com!
What You’ll Need:
- 4 Disposable Cups (plastic or styrofoam)
- Duct Tape
- 2 Rulers or Yardsticks (of the same size)
- 1 Shoe Box
How to Make Your Train Wheels:
- Lay two of your disposable cups down on a flat surface with the bottoms facing each other and tape them together at the base. Your first cup set (train wheels) should resemble this shape: ><
- Lay your two other cups down with the tops facing each other and tape them to each other. Your second cup set (train wheels) should resemble this shape: <>
How to Make Your Railroad Tracks:
- Set your shoe box on a flat surface.
- With your two rulers laying flat, create an incline from your work surface to the top of the box.
- Space them evenly apart with enough room for your train wheels to fit on top of them.
- Then stand them on their sides so the narrow edges are now pointing upwards and tape them securely in place.
How to Conduct Your Own Train Wheels Science Experiments:
Test One:
- Center your first set of train wheels at the top of your ruler slope (railroad tracks).
- Let your train wheels roll down the tracks and observe how they move. Do they stay on the tracks all the way down, or did they derail?
- Repeat this several more times with the same set of train wheels and note your observations. Do you get the same results every time?
- Now center your second set of train wheels at the top of your track slope and take notes on how they roll down. Do they roll differently in any way? Do they stay on the tracks all the way down, or did they derail?
Test Two:
- After noting all your observations from test one, take your first set of wheels and place them on the top of your train track slope again, but this time place them slightly off-centered either to the left or right.
- Let the wheels roll down the track again, and observe how they move this time. Do they roll the same as they did when they were centered? How do they roll differently?
- Repeat this with your second set of train wheels slightly off-center. How are your results different from your first test?
What Does This Demonstrate?
First Set of Train Wheels: Derailed
As you probably observed, your first set of train wheels (><) was much less successful at rolling all the way down the train tracks without derailing. In both tests the shape of your first set of train wheels caused it to derail pretty much every time no matter where you placed them on the tracks.
Second Set of Train Wheels: Rolled All the Way Down the Tracks
Your second set of train wheels (<>) on the other hand, should have rolled all the way down the tracks no matter where you placed them. During your second test run, the design of your second set of train wheels made it automatically correct its course and center itself!
Your train wheel science experiment has successfully demonstrated exactly how trains safely roll down train tracks!
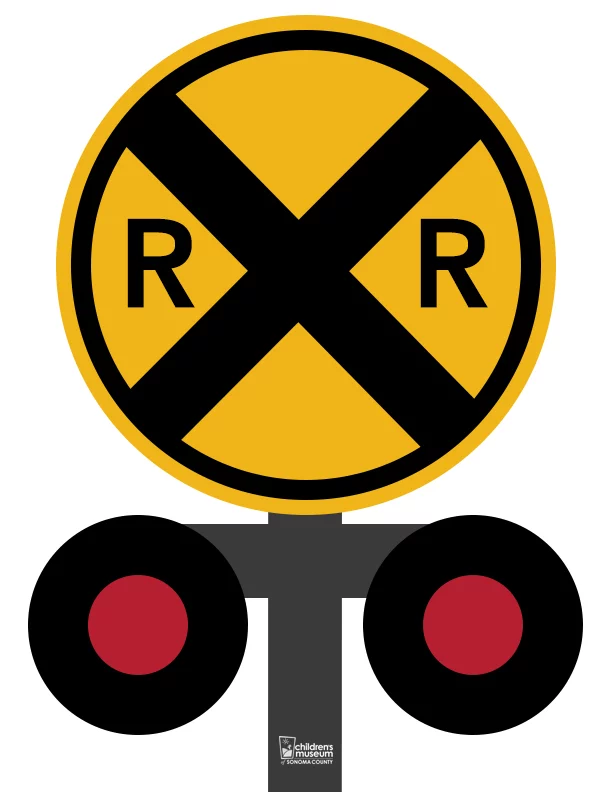
2. Light Up Railroad Crossing Sign [Downloadable Template Included!]
With this hands-on tech activity, children can have fun learning how to make a simple paper circuit and seeing how electricity works up close! This project is also a fun and easy way to demonstrate that technology doesn’t always have to be complicated to be electrifying!
What You’ll Need:
- 2 Coin Batteries (adult supervision required)
- 2 LED Bulbs
- 2 Binder Clips
- 2 Foam Pieces
- Tape
- Pencil (or anything pokey)
- Railroad Crossing Sign Printable Download
How to Make Your Railroad Crossing Sign:
- Print out your railroad crossing sign. (Or have your little one draw and color their own!)
- Using the tip of a pencil, poke one small hole through the center of both red circles. Your LED bulbs will be placed in these holes, so make sure they aren’t too big!
How to Make Your Paper Circuits:
- Place the coin battery between the prongs of the LED bulb. Did it light up?
- If it didn’t, just flip the LED so the prongs touch the opposite sides of the battery this time!
- Sandwich the battery and bulb prongs between a folded piece of foam and secure it all together with a binder clip. The foam piece acts as an insulator to ensure the metal on the binder clip doesn’t cause a short circuit.
- Follow steps 1-3 again to create your second paper circuit.
- Your paper circuits are now complete and ready to be added to your sign!
How to Assemble Your Light Up Railroad Crossing Sign:
- Once your paper circuit is complete and your LED light bulbs are lit up, place them through the holes you created in your Railroad Crossing sign.
- Tape your paper circuits to the back of your sign so your lights stay in place.
- Your Railroad Crossing Sign is now complete! Hang it up so everyone knows to watch out for approaching trains!
Once you have learned how to make a paper circuit for your Railroad Crossing Sign, you can use these new tech skills to make any number of other light-up creations!
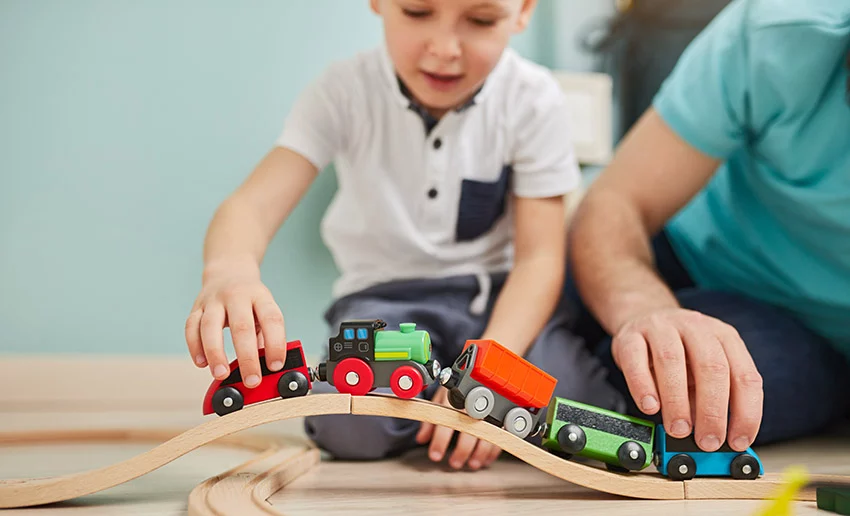
3. Egg Carton Train Art Activity
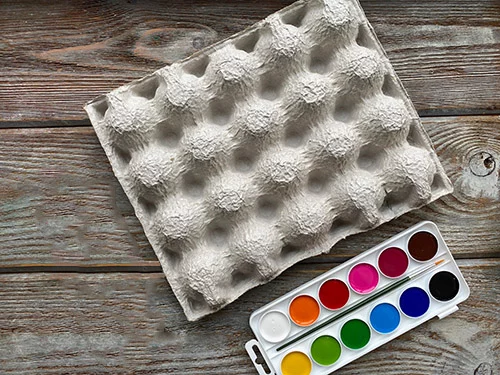
This art project is the perfect way to encourage your little one to get creative, and practice drawing shapes and using tools like scissors and paint brushes! Children of all ages can make this train set, and letting them pick their favorite paint colors allows them to truly personalize their creation.
What You’ll Need:
- 1 Cardboard Egg Carton (1 dozen)
- 2 Empty Toilet Paper Rolls
- Single Hole Punch
- Pipe cleaners (or string)
- Card Stock (black)
- Paint
- Pencil
- Scissors
- Masking Tape
- Glue
How to Make Your Locomotive:
- Your first empty toilet paper roll will be the body of the train engine, so it should remain in one piece.
- Cut your second empty TP roll into two pieces, making one piece about an inch taller than the other. These will be your steam stacks.
- Align your two steam stacks on top of your first TP roll and tape them in place. The side with the shorter steam stack will be the front of your locomotive.
- Use your single hole punch to punch a hole in the back bottom part of your locomotive. Once all your train pieces are dry, this is where your train cars will attach using pipe cleaners.
- Now it’s time to paint it! Set it aside and let the paint fully dry while you make your train cars.
How to Make Your Train Cars:
- Cut the lid off of your egg carton as well as all the sides of the bottom portion leaving only the egg cups.
- Then cut the egg cups into sets of two. You should now have six sets of egg cups. These are your train cars!
- Use your single hole punch to put a hole at the top of your train cars on both ends. This is how your train cars will attach to each other and your locomotive using pipe cleaners.
- Now paint your train cars any colors you want! Set them aside and let the paint dry while you make your train wheels.
How to Make Your Train Wheels:
- On your black card stock, draw 2 circles about 2-3 inches wide. These will be the back wheels on your locomotive.
- Then draw 26 smaller circles all about 1 inch wide. Two of these will be the front wheel of your locomotive, and the rest will be your train car wheels.
- Carefully cut out all of your train wheels and glue them to your locomotive and train cars!
How to Assemble Your Egg Carton Train:
- Once the glue is dry and your wheels are securely attached, it is time to put your Egg Carton Train together!
- Line up your locomotive with all of your train cars behind it.
- Cut your pipe cleaners to about 2-3 inches long and bend both ends to create two-sided hooks.
- Place the pipe cleaner hooks through each hole you punched into your train cars linking them all together.
- You can twist the pipe cleaner around itself to make the link more secure, or keep them loose so you change the order of the cars more easily.
- Once your train set is all linked together, fill your egg carton cars with little toys and passengers and pull them around!
Consider adding extra flair to your train by gluing cotton balls or stuffing in the smokestacks, or adding stickers, glitter, or anything else you like!
4. Read Along: Chugga Chugga Choo Choo [Video]
Chugga Chugga Choo Choo by Kevin Lewis
Come along for an exciting ride with a busy toy train and go on an adventure through a child’s playroom. Watch and listen to the rhyming tale with bright and energetic pictures that are sure to be a hit with little train lovers.
Celebrate Learning Through Play at the Children’s Museum of Sonoma County
We invite you to join us at the Children’s Museum of Sonoma County to explore our very own train exhibit, Jesse’s Train Station! This miniature train attraction is modeled after a local station and even includes sounds of trains rolling down the tracks to create a fully immersive experience.
PLUS! Every summer, we host our beloved Great Train Days event and celebrate learning through play with all things trains! If you or your little learner love trains, then you won’t want to miss this extraordinary event!
Use the form below to sign up for our newsletter to be the first to know about upcoming events at the Children’s Museum of Sonoma County!
Sign up for E-News!
Sign up for E-News Form